A002704

Ready-to-Use 3D Door STL for CNC Carving & Woodworking – A002704

What a Ready-to-Use 3D Door STL Offers

A ready-to-use 3D door STL can provide a practical starting point for CNC carving, especially when a project calls for decorative depth without the time required to model every detail from scratch. The file describes the surface geometry that carving software translates into toolpaths. Depending on the design, it may feature raised panels, floral motifs, geometric borders, or traditional ornamentation.

Before committing to a model, review its intended use and confirm that the geometry suits your machine and project. A decorative relief for a cabinet door, for example, may not be appropriate for a full-size entry door. Check the model’s dimensions, thickness assumptions, scale, and whether it represents a complete door or only a carved panel.

Check the File Before Carving

STL files can vary greatly in quality. Inspect the model in a compatible viewer or CAM program for holes, intersecting surfaces, uneven details, and excessive polygon complexity. A clean, watertight mesh is generally easier to prepare for machining. Also verify that the relief has enough depth to remain visible after sanding and finishing, while avoiding details too small for the chosen cutter.

Tool selection matters. Large end mills remove material efficiently from broad areas, while ball-nose cutters can capture curved relief and fine transitions. The appropriate bit depends on the design, material, machine capability, and desired finish. Simulate toolpaths before cutting to identify missed areas, collisions, or unexpectedly long machining times.

Plan for Material and Finish

Wood species, grain direction, and board stability influence the final result. Secure the workpiece firmly and consider a test carve in an offcut, particularly when using an unfamiliar model or material. Allow sufficient stock for cleanup and finishing, and follow the machine manufacturer’s safety guidance throughout the process.

A well-chosen door STL can streamline design preparation, but it is not a substitute for careful setup. Confirm licensing terms, adapt the dimensions to the intended opening, and review every toolpath. With those checks in place, a digital relief can become a precise, distinctive carved feature.


Thank You for Being Here

We’re so happy you stopped by! We hope you enjoy your experience and discover the perfect CNC design files for your projects. If you ever need assistance, don’t hesitate to reach out. We’re always glad to help.

Wishing you happy carving, smooth projects, and endless creativity! ✨😊

A002703

3D Door Design Artcam STL File for CNC Relief Carving – A002703

Decorative Detail for a Door Panel

A sculpted door can bring depth and character to an interior or architectural feature. The A002703 3D door design is intended for CNC relief carving, where raised and recessed forms are cut into a material to create a dimensional surface. Its ornamental details can serve as a focal point while complementing the surrounding woodwork, whether used on a full-size door or a smaller decorative panel.

Working with an ArtCAM STL File

An STL file represents a three-dimensional model as a mesh of connected surfaces. In ArtCAM, the model can be imported and assessed before toolpaths are created. Check the design’s orientation, scale, relief height, and position within the intended work area. These settings help ensure that the carved result fits the panel and that the details remain clear at the selected size.

Before machining, review the mesh for unexpected gaps or rough areas, and confirm that the chosen cutters can reach the design’s finer features. A roughing pass can remove most of the material efficiently, while a finishing pass with an appropriate ball-nose or tapered tool can refine contours and decorative transitions. The exact tooling and strategy depend on the material, machine, and level of detail required.

Planning the CNC Carving Process

Secure the stock firmly and choose a material suited to both the project and the relief depth. Test the setup on a sample piece when possible. A small trial can reveal whether the design needs resizing, whether the finish is sufficiently smooth, and whether the selected feed and spindle settings are suitable.

From Digital Relief to Finished Panel

After carving, remove dust and inspect the surface under good lighting. Light sanding may improve the finish, but take care not to flatten delicate raised details. Stain, paint, or clear coating can emphasize the relief and protect the panel. With thoughtful preparation in ArtCAM and careful machining, the A002703 door model can become a distinctive, precisely crafted decorative feature.


Thank You for Being Here

We’re so happy you stopped by! We hope you enjoy your experience and discover the perfect CNC design files for your projects. If you ever need assistance, don’t hesitate to reach out. We’re always glad to help.

Wishing you happy carving, smooth projects, and endless creativity! ✨😊
A002702

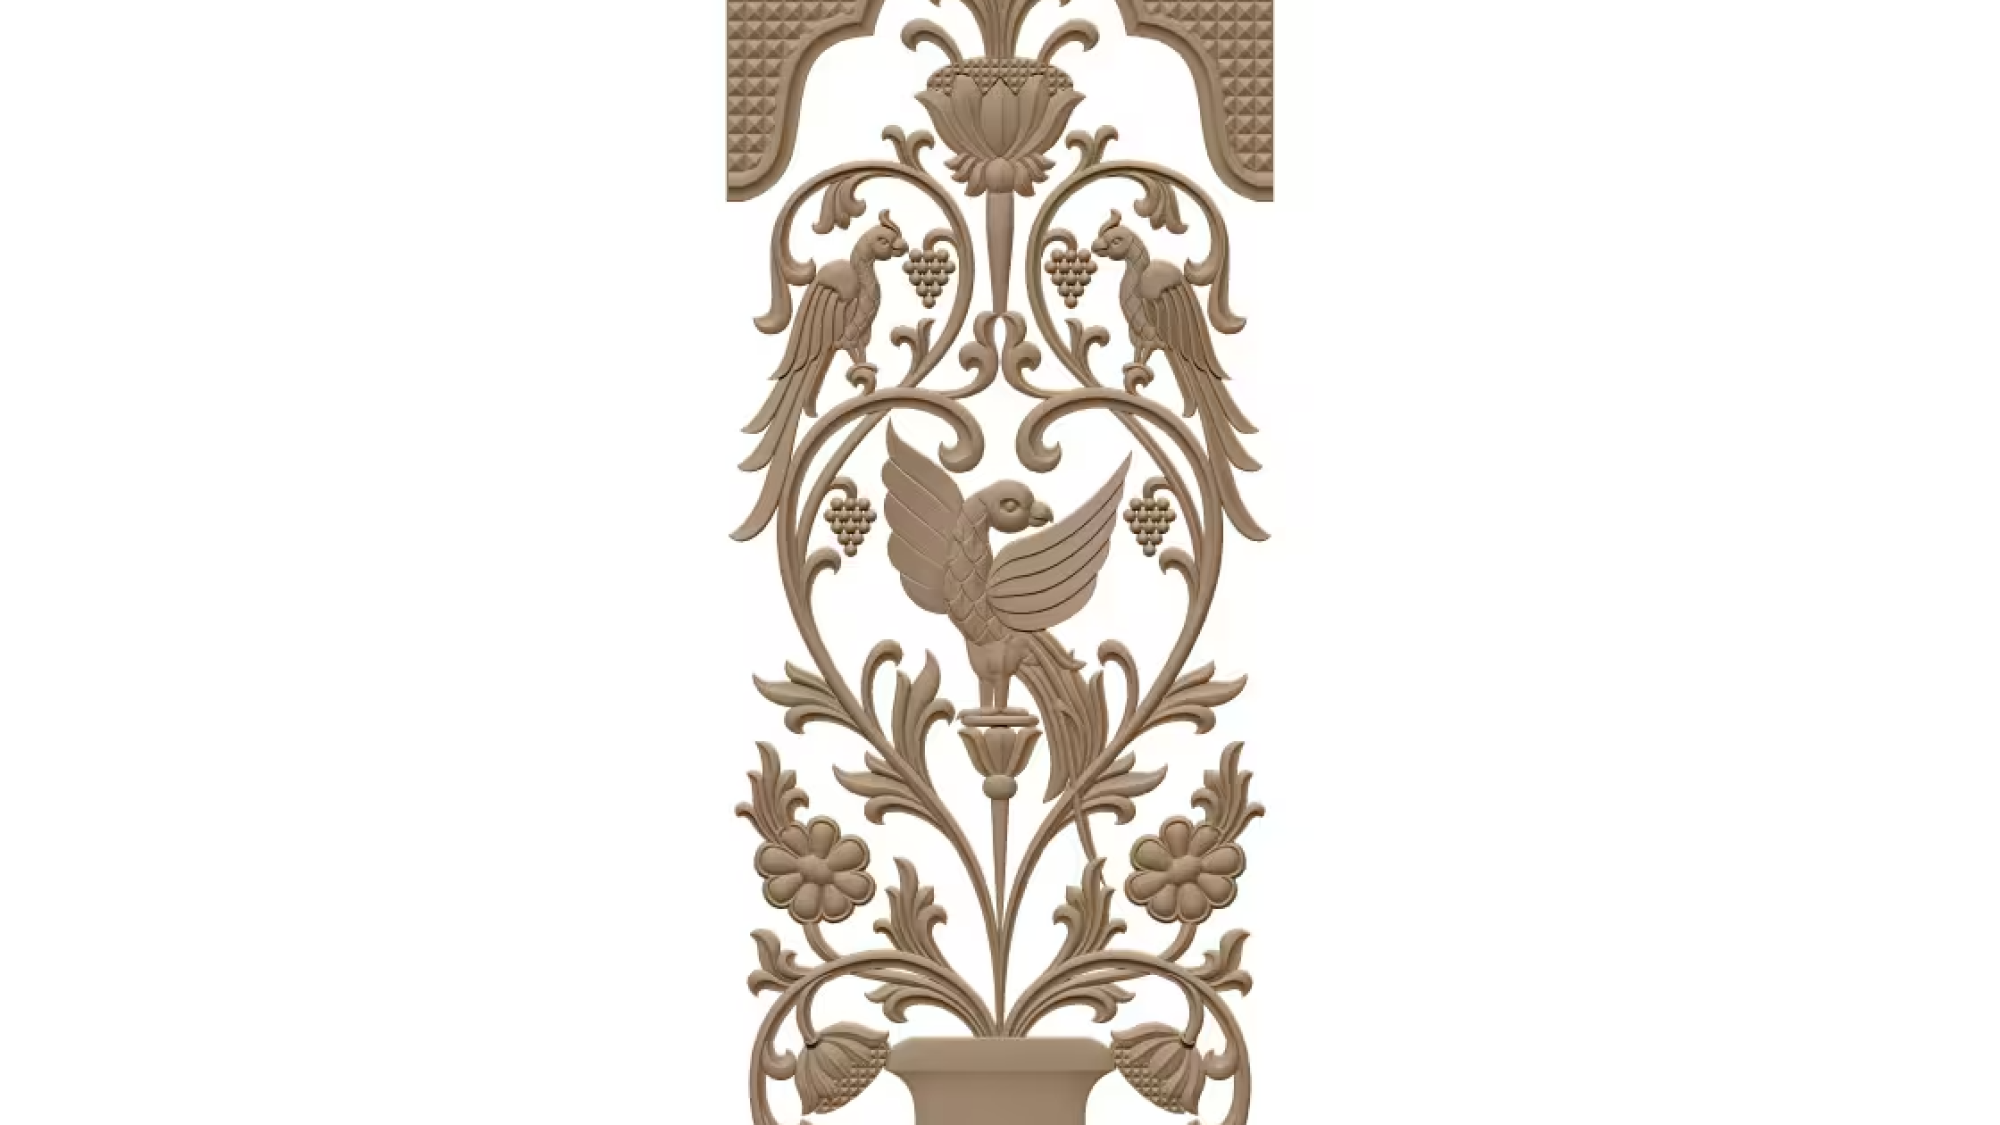
Classic 3D Door Pattern STL File for CNC Router Cutting – A002702

Traditional Detail, Precisely Reproduced

A classic three-dimensional door pattern brings depth and craftsmanship to an otherwise plain surface. Raised panels, flowing borders, and ornamental accents can evoke the character of traditional joinery while benefiting from the accuracy of modern CNC router cutting. A well-prepared STL model translates these design details into a form that can be machined consistently, whether the goal is a single custom door or a coordinated set of decorative panels.

Before cutting, review the model’s proportions and relief depth in relation to the door’s dimensions. Fine details that look striking on a screen may be too small to reproduce cleanly at the chosen scale, while deep contours can require additional machining time and suitable material thickness. Checking these factors early helps preserve the pattern’s visual balance and practical strength.

Preparing the STL for Machining

An STL file describes a surface as a mesh of triangles, so mesh quality matters. Look for a model with clean, continuous surfaces and enough resolution to represent curves without visible faceting. The file should also be oriented and scaled appropriately for the intended workpiece. In CAM software, assign toolpaths that suit both the broad relief and the smaller decorative features. A larger bit can remove material efficiently, followed by a finer tool for crisp edges and smoother transitions.

Material choice influences the final result. Hardwood can emphasize a refined, traditional appearance, while MDF offers a uniform surface that is often suitable for painted finishes. In either case, secure the stock firmly and consider a test cut in a comparable offcut. This allows feed rates, cutting depth, and tool selection to be assessed before machining the finished door.

Finishing and Design Considerations

After cutting, remove dust and inspect the relief for tool marks or delicate areas that need careful sanding. Apply a finish suited to the material and the door’s intended use. A restrained stain or paint can highlight the raised pattern without obscuring its shape.

A thoughtfully chosen classic 3D door pattern combines decorative character with manufacturable detail. Careful preparation, appropriate tooling, and a considered finish help turn an STL design into a durable, polished feature.


Thank You for Being Here

We’re so happy you stopped by! We hope you enjoy your experience and discover the perfect CNC design files for your projects. If you ever need assistance, don’t hesitate to reach out. We’re always glad to help.

Wishing you happy carving, smooth projects, and endless creativity! ✨😊

A002701

3D Wooden Door Carving STL Model for CNC Machine – A002701

A Decorative Design for CNC Craft

A three-dimensional wooden door carving STL model, such as A002701, provides a digital starting point for creating an ornamental panel with a CNC machine. The model represents raised and recessed details that can be translated into toolpaths, allowing a design to be reproduced with measured precision. It may suit a door insert, cabinet front, or other architectural feature where carved texture can add visual interest.

Before production, review the model in compatible design or CAM software. Check its scale, relief depth, overall proportions, and orientation against the dimensions of the intended workpiece. Confirm that the file imports correctly and that its geometry is suitable for machining. A preview of the toolpath can help reveal areas that may be too delicate, steep, or difficult for the selected cutter to reach.

Preparing the Wood and Toolpath

Choose stable, appropriately seasoned wood with a surface large enough for the complete design. The species, grain direction, and hardness affect both the appearance of the carving and the cutting process. Secure the material firmly to the machine bed, and make sure the setup leaves adequate clearance for the spindle, cutter, and clamps.

Tool selection should reflect the level of detail in the relief. Larger cutters can remove material efficiently, while smaller bits may be required to define fine contours. Set conservative cutting parameters that suit the machine, material, and tooling, and use a test piece when practical. A roughing pass followed by a finishing pass can help balance material removal with surface quality.

Finishing and Practical Considerations

After machining, inspect the panel for tool marks, fragile details, and areas that need light hand sanding. Avoid sanding away crisp transitions in the relief. Apply a suitable finish only after removing dust and confirming that the surface is clean; a sample on scrap wood can show how the finish affects color and grain.

With careful preparation, a decorative STL relief can become a distinctive wooden feature. Confirm the model’s licensing and intended use before producing or distributing finished work, and follow safe operating procedures throughout machining.


Thank You for Being Here

We’re so happy you stopped by! We hope you enjoy your experience and discover the perfect CNC design files for your projects. If you ever need assistance, don’t hesitate to reach out. We’re always glad to help.

Wishing you happy carving, smooth projects, and endless creativity! ✨😊

A002700

Luxury 3D Door Design STL Download for CNC Carving – A002700

Ornamental Detail with a Purpose

Luxury door design brings together visual impact, craftsmanship, and practical function. A002700 is a 3D door design concept intended for CNC carving, where digital relief patterns can be translated into carefully controlled cuts. The result can add depth and character to an entrance while complementing the architectural style of a home, hotel, or commercial interior.

Three-dimensional ornament offers more than surface decoration. Raised and recessed forms interact with changing light, making details appear different throughout the day. When selecting a design, consider how its pattern relates to nearby trim, hardware, flooring, and furnishings. A cohesive approach helps an ornate door feel integrated rather than overwhelming.

Preparing an STL for CNC Work

An STL file represents a model as a mesh of connected triangles. Before carving, confirm that the file is compatible with the intended software and machine workflow. Check the model’s scale, orientation, surface continuity, and level of detail. These factors influence how the design is interpreted during toolpath creation and whether the finished relief suits the available stock.

Material choice also matters. Hardwood can emphasize crisp detail and provide a substantial finish, while engineered panels may offer greater dimensional consistency. In either case, test cuts on a suitable sample are a sensible way to evaluate the appearance, depth, and machining settings before committing to a full-size door.

Balancing Elegance and Practicality

A carved door should remain durable and convenient to use. Keep high-relief areas clear of handles, locks, hinges, and other hardware, and consider how the design will be cleaned and finished. A protective coating can help preserve the surface, but its sheen and color may alter the perceived depth of the carving.

With thoughtful preparation, A002700 can serve as a starting point for a distinctive entrance. Review the model carefully, adapt it to the door’s dimensions, and coordinate the carving with the surrounding architecture. Attention to these details helps transform a digital design into a refined, well-proportioned feature.


Thank You for Being Here

We’re so happy you stopped by! We hope you enjoy your experience and discover the perfect CNC design files for your projects. If you ever need assistance, don’t hesitate to reach out. We’re always glad to help.

Wishing you happy carving, smooth projects, and endless creativity! ✨😊
A002699

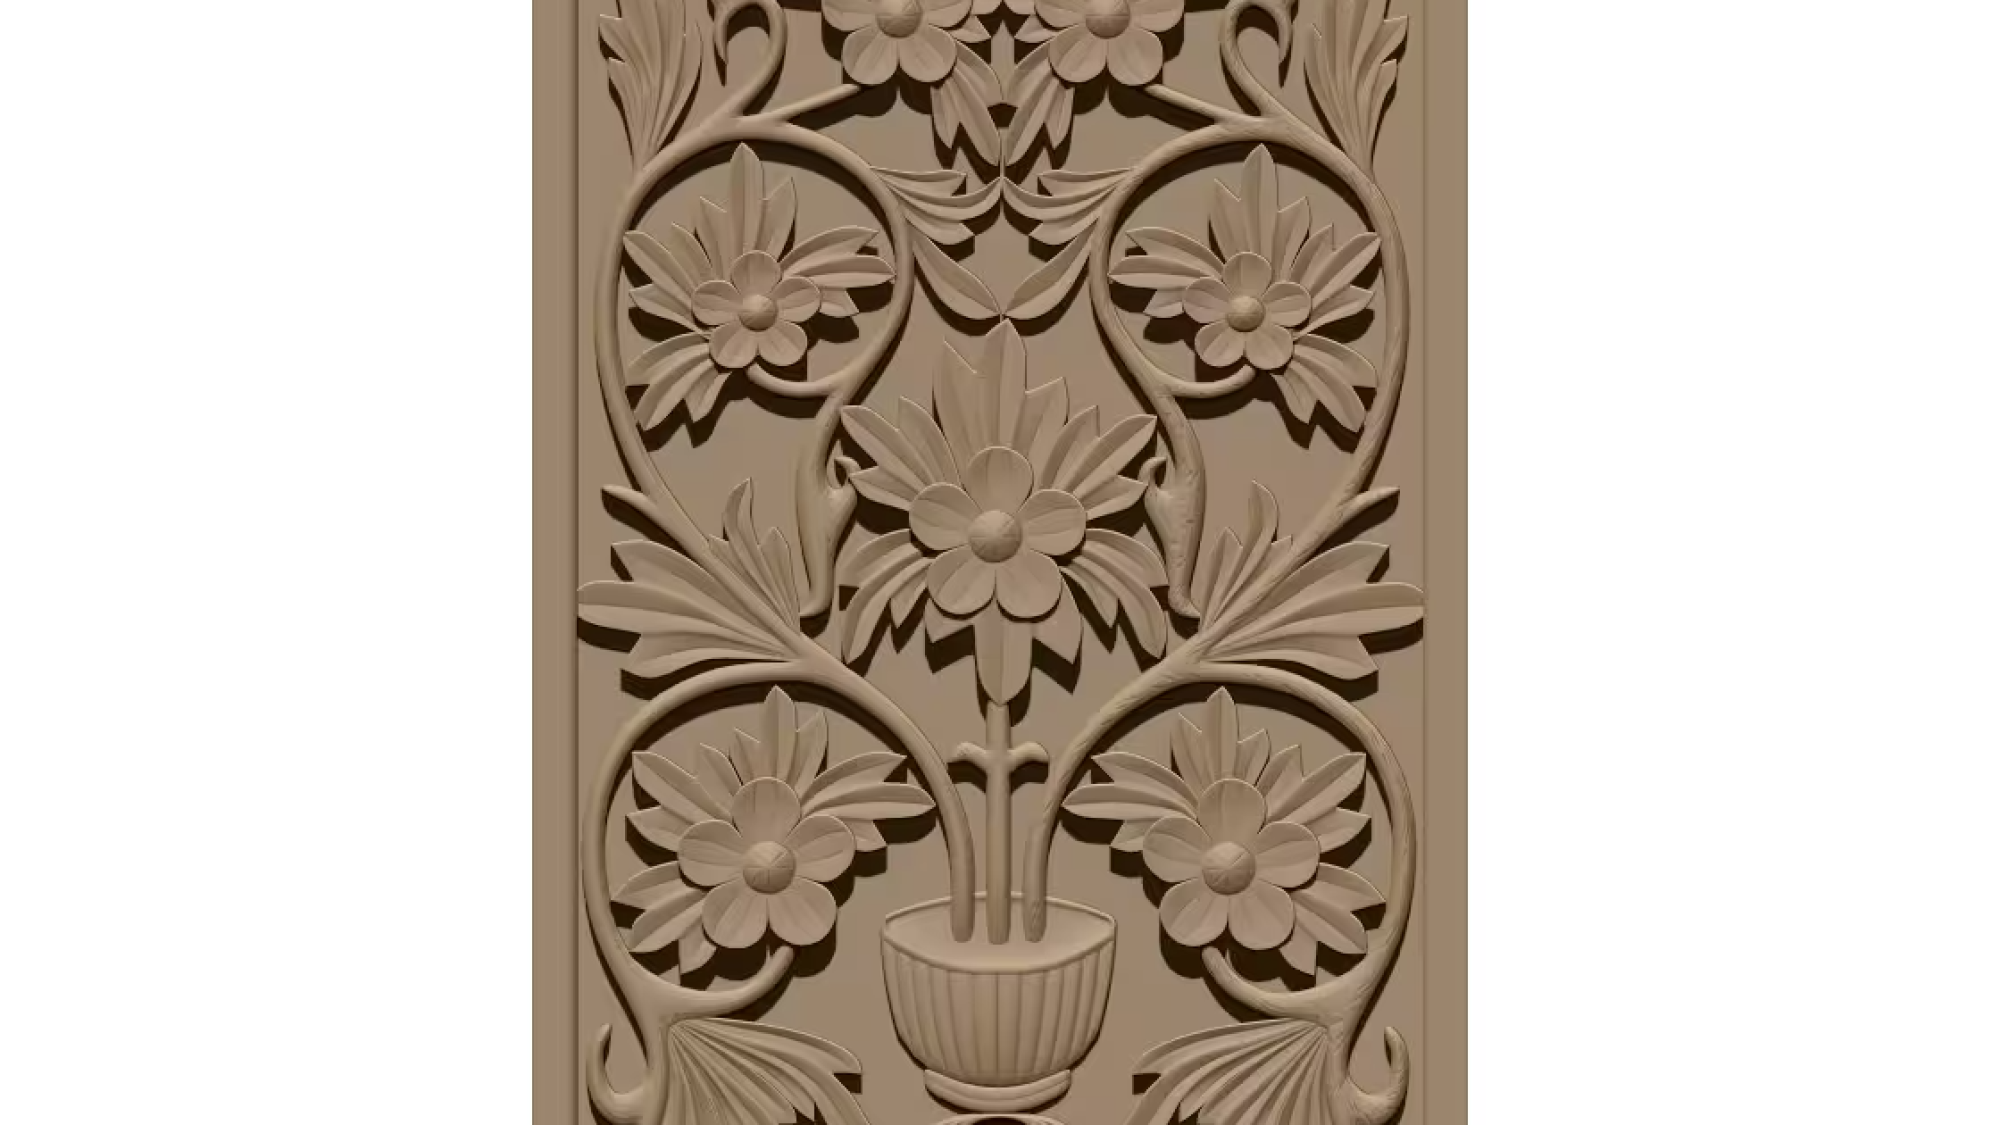
3D Door Panel Relief STL File for CNC Wood Router – A002699

Decorative Depth for a Distinctive Door

A three-dimensional door panel relief can bring character and depth to an otherwise plain entrance. The A002699 STL file is intended for CNC wood routing, where a digital relief model guides the cutting tool to shape a decorative design in timber. Its sculpted surface can add visual interest to interior doors, cabinet fronts, and other suitable woodworking projects.

Unlike a flat engraved pattern, a relief uses changes in height and contour to create highlights and shadows. The result varies with the chosen wood, lighting, finish, and viewing angle. This makes careful preparation important: consider how the design will relate to the surrounding door frame, hardware, and room décor before beginning production.

Preparing the STL for CNC Routing

An STL file describes the surface geometry of a three-dimensional model. Before machining, import the file into compatible CAM software and check its scale, orientation, and placement within the stock. A preview can help reveal issues such as unwanted clipping, insufficient margins, or details that may be too small for the selected cutter.

Toolpath settings should suit the material and the level of detail in the relief. A roughing pass can remove excess material efficiently, while a finer finishing pass can define contours and surface texture. Select cutters appropriate to the design, secure the workpiece firmly, and follow the machine and tooling manufacturers’ safety guidance. A test cut on scrap wood is a practical way to assess scale and finish before routing the final panel.

Finishing and Practical Considerations

After machining, inspect the panel and remove any remaining tool marks with suitable sanding. Take care not to flatten delicate raised features. A stain, clear coat, or painted finish can emphasize the relief, but test the finish on an offcut first to confirm its appearance on the chosen wood.

With thoughtful setup and finishing, the A002699 relief can become a refined architectural detail. Confirm that the model dimensions suit the intended panel, and adapt the machining process to the material and equipment available.


Thank You for Being Here

We’re so happy you stopped by! We hope you enjoy your experience and discover the perfect CNC design files for your projects. If you ever need assistance, don’t hesitate to reach out. We’re always glad to help.

Wishing you happy carving, smooth projects, and endless creativity! ✨😊
A002698

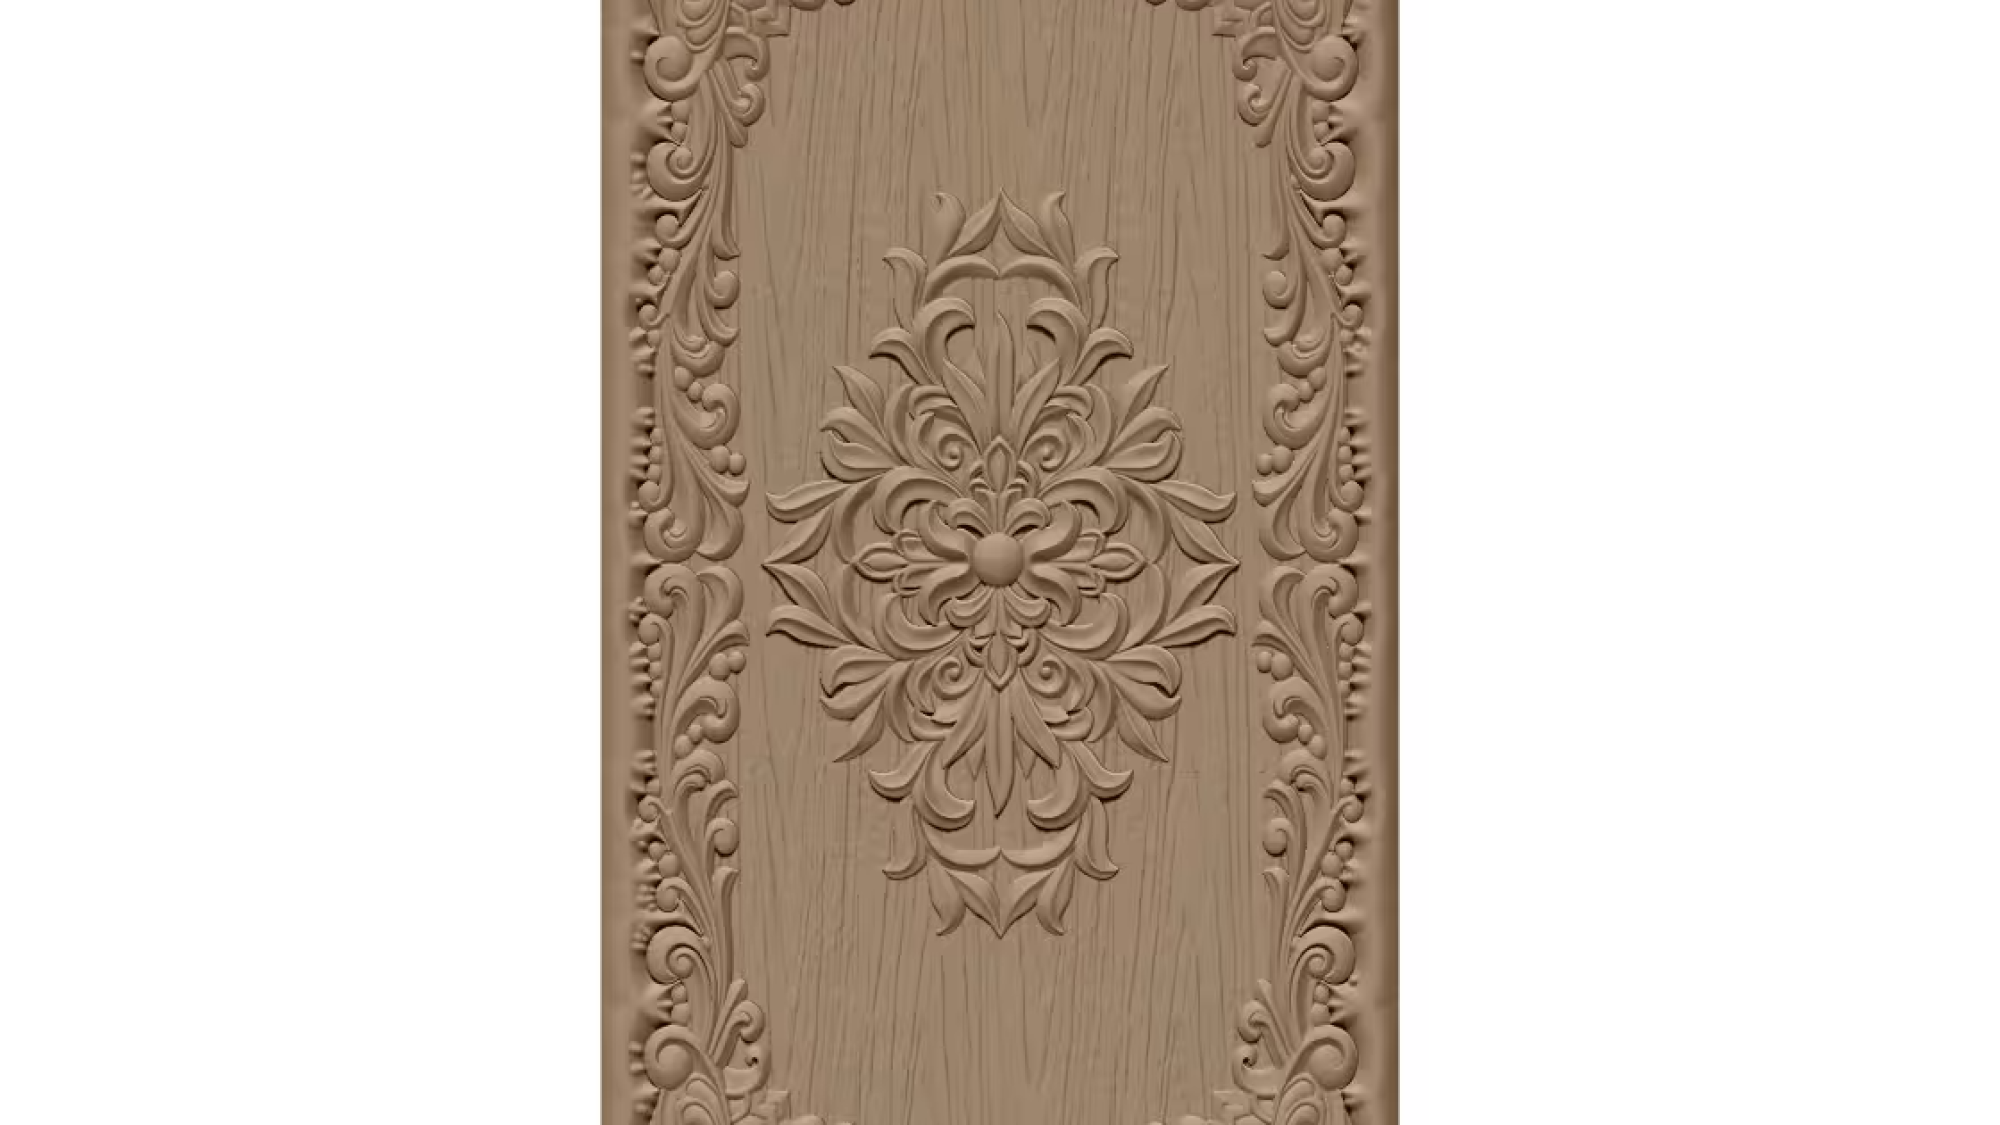
Modern 3D Door Carving Design STL for CNC & Engraving – A002698

Where Contemporary Door Design Begins

Modern 3D door carving brings depth, texture, and architectural character to an element that is often treated as purely functional. Instead of relying on traditional raised panels or ornate motifs, contemporary designs may feature flowing lines, geometric reliefs, abstract patterns, or restrained natural forms. A carefully chosen STL file provides the digital model that guides a CNC machine as it shapes the design into wood or another suitable material.

The strongest results begin with a clear relationship between the carving and the door itself. Consider the room’s style, the door’s dimensions, and how light will fall across the surface. Broad, gradual forms can create a calm, understated effect, while sharper transitions and deeper relief make a more dramatic statement.

Choosing and Preparing an STL Model

An STL model should be selected for both appearance and practical machinability. Check that its proportions suit the door, its relief depth works with the available material thickness, and its details are large enough to reproduce cleanly. Very fine lines or steep, narrow recesses may be difficult to mill and can increase finishing time.

Before production, inspect the model in compatible design or CAM software. Scale it accurately, position it within the intended carving area, and review the toolpath preview for unexpected cuts or incomplete details. Test cuts on a sample piece are useful for evaluating depth, surface quality, and the appearance of the chosen cutter.

CNC Machining and Finishing

Material choice influences both the carving process and the finished look. Stable hardwoods can emphasize crisp relief, while suitable engineered panels may offer consistent machining across larger projects. Secure the workpiece firmly, use tooling appropriate to the material, and follow the machine manufacturer’s safety guidance.

After machining, remove dust and carefully sand accessible surfaces without flattening the design’s contours. A compatible stain, paint, oil, or clear finish can highlight shadows and protect the door. With thoughtful modeling, accurate preparation, and careful finishing, a modern 3D carving can turn a simple door into a distinctive architectural feature.


Thank You for Being Here

We’re so happy you stopped by! We hope you enjoy your experience and discover the perfect CNC design files for your projects. If you ever need assistance, don’t hesitate to reach out. We’re always glad to help.

Wishing you happy carving, smooth projects, and endless creativity! ✨😊
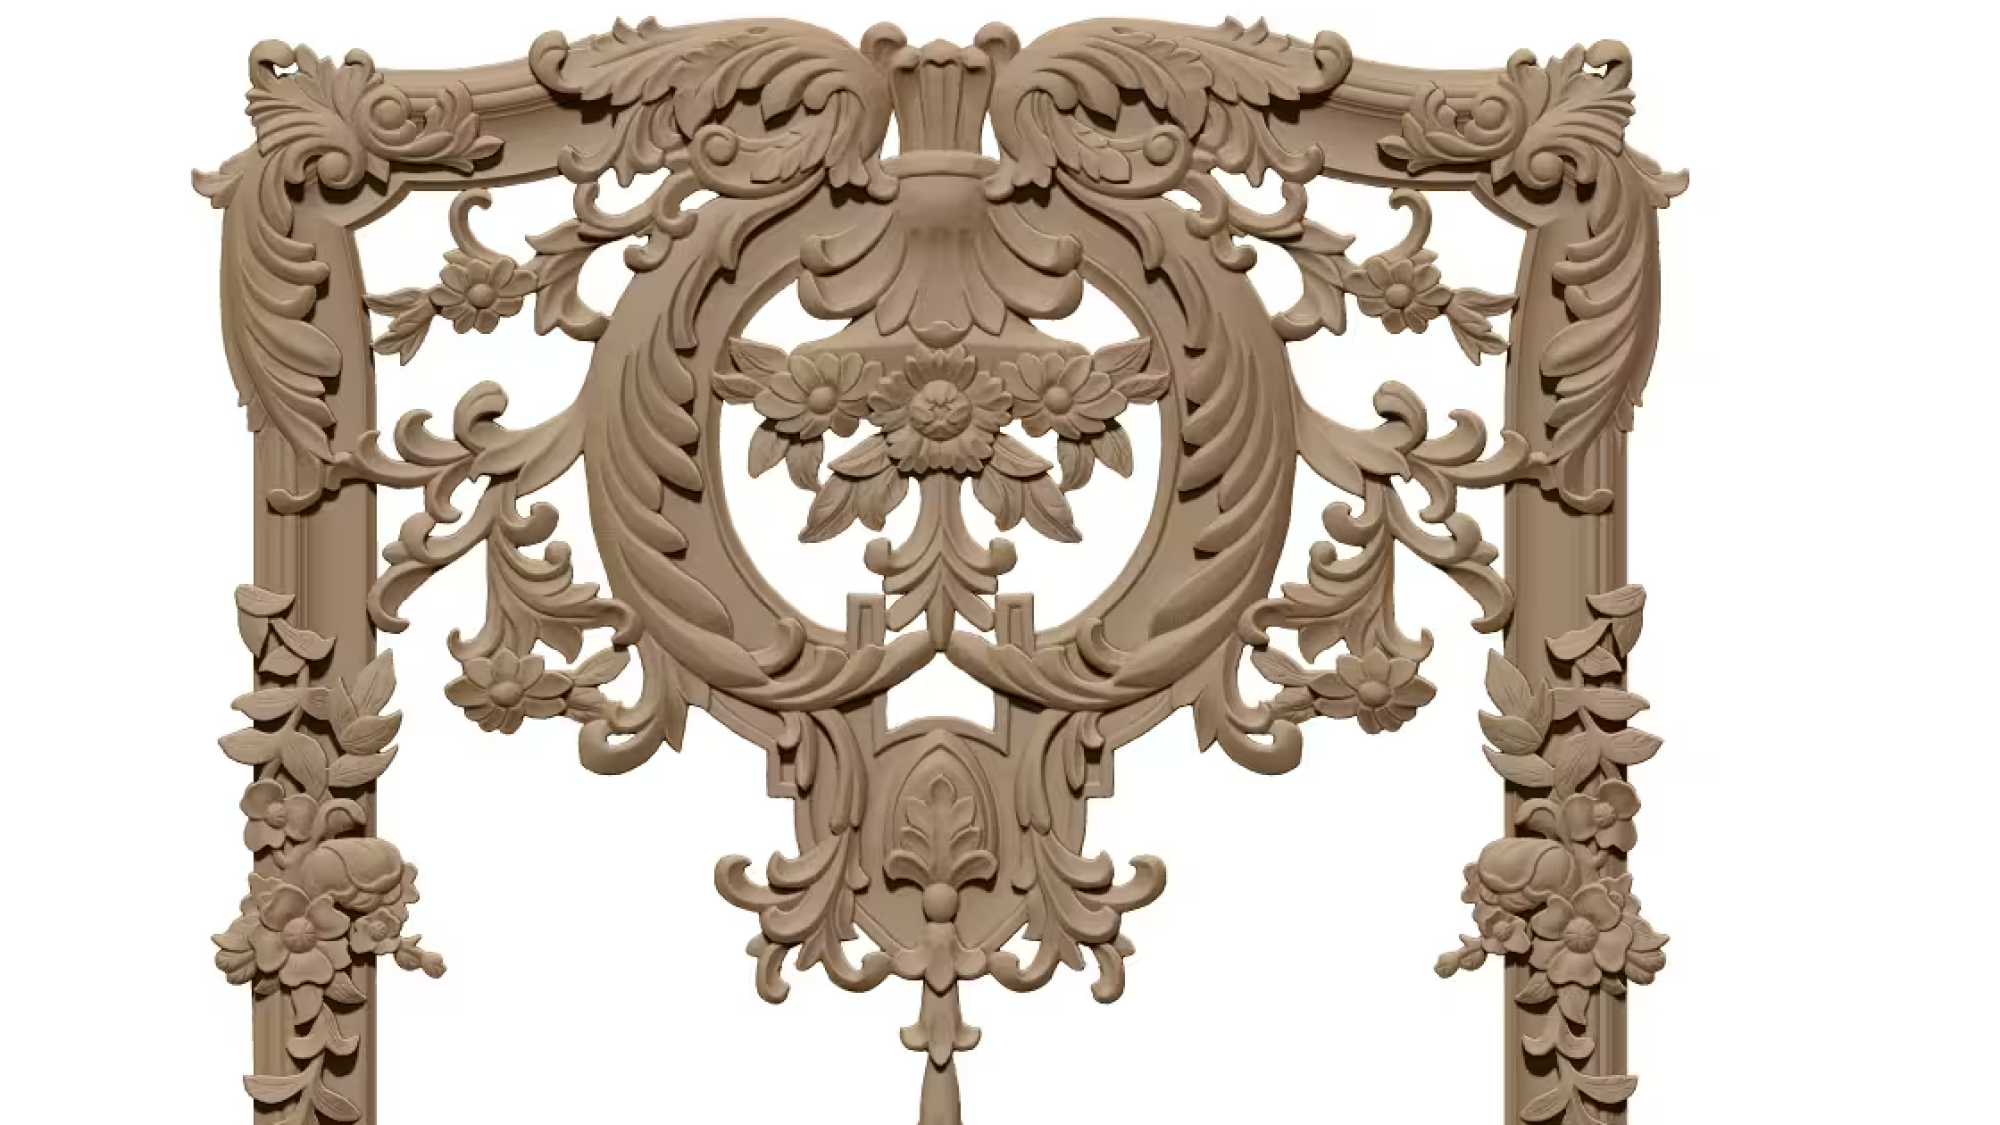
A002697

3D Carved Door STL File for CNC Router Machine – A002697

A decorative door can make a strong first impression, and a carefully planned carved design adds depth without overwhelming the surrounding architecture. Model A002697 is a 3D door-carving STL file intended for use with a CNC router. Before machining, review the model and prepare it for the dimensions, material, and finish required for the project.

Review the Model Before Cutting

An STL file describes a three-dimensional surface, but it does not automatically determine the final appearance of a finished door. Open the model in compatible design or CAM software and inspect its scale, relief depth, orientation, and surface detail. Confirm that the artwork fits the intended panel area, leaving suitable margins around the edges. If adjustments are needed, make them before generating toolpaths.

Prepare the Router and Material

Choose a stable, flat workpiece appropriate to the door’s intended use and appearance. Secure it firmly to the machine bed, since movement can affect detail and create an unsafe cut. In CAM software, select cutters suited to the geometry: a larger bit can remove material efficiently, while a fine ball-nose cutter may be useful for finishing curved relief. Set feeds, speeds, step-over, and cutting depth according to the router, tooling, and material manufacturer’s guidance. A test cut on scrap is a practical way to check the setup.

Machine in Stages

A roughing pass followed by a finishing pass can help balance cutting time with surface quality. Check the simulated toolpath for unexpected movements, excessive depth, or areas where the cutter may not reach. During machining, supervise the process and use appropriate dust extraction and protective equipment. Afterward, remove the workpiece only when the machine has stopped, then sand carefully without flattening the carved details.

Finish for a Cohesive Result

Apply stain, paint, or a clear protective coating suited to the material and setting. Test the finish on an offcut first, as color and sheen can emphasize relief differently. With thoughtful preparation and machining, A002697 can serve as a starting point for a distinctive carved door panel.


Thank You for Being Here

We’re so happy you stopped by! We hope you enjoy your experience and discover the perfect CNC design files for your projects. If you ever need assistance, don’t hesitate to reach out. We’re always glad to help.

Wishing you happy carving, smooth projects, and endless creativity! ✨😊
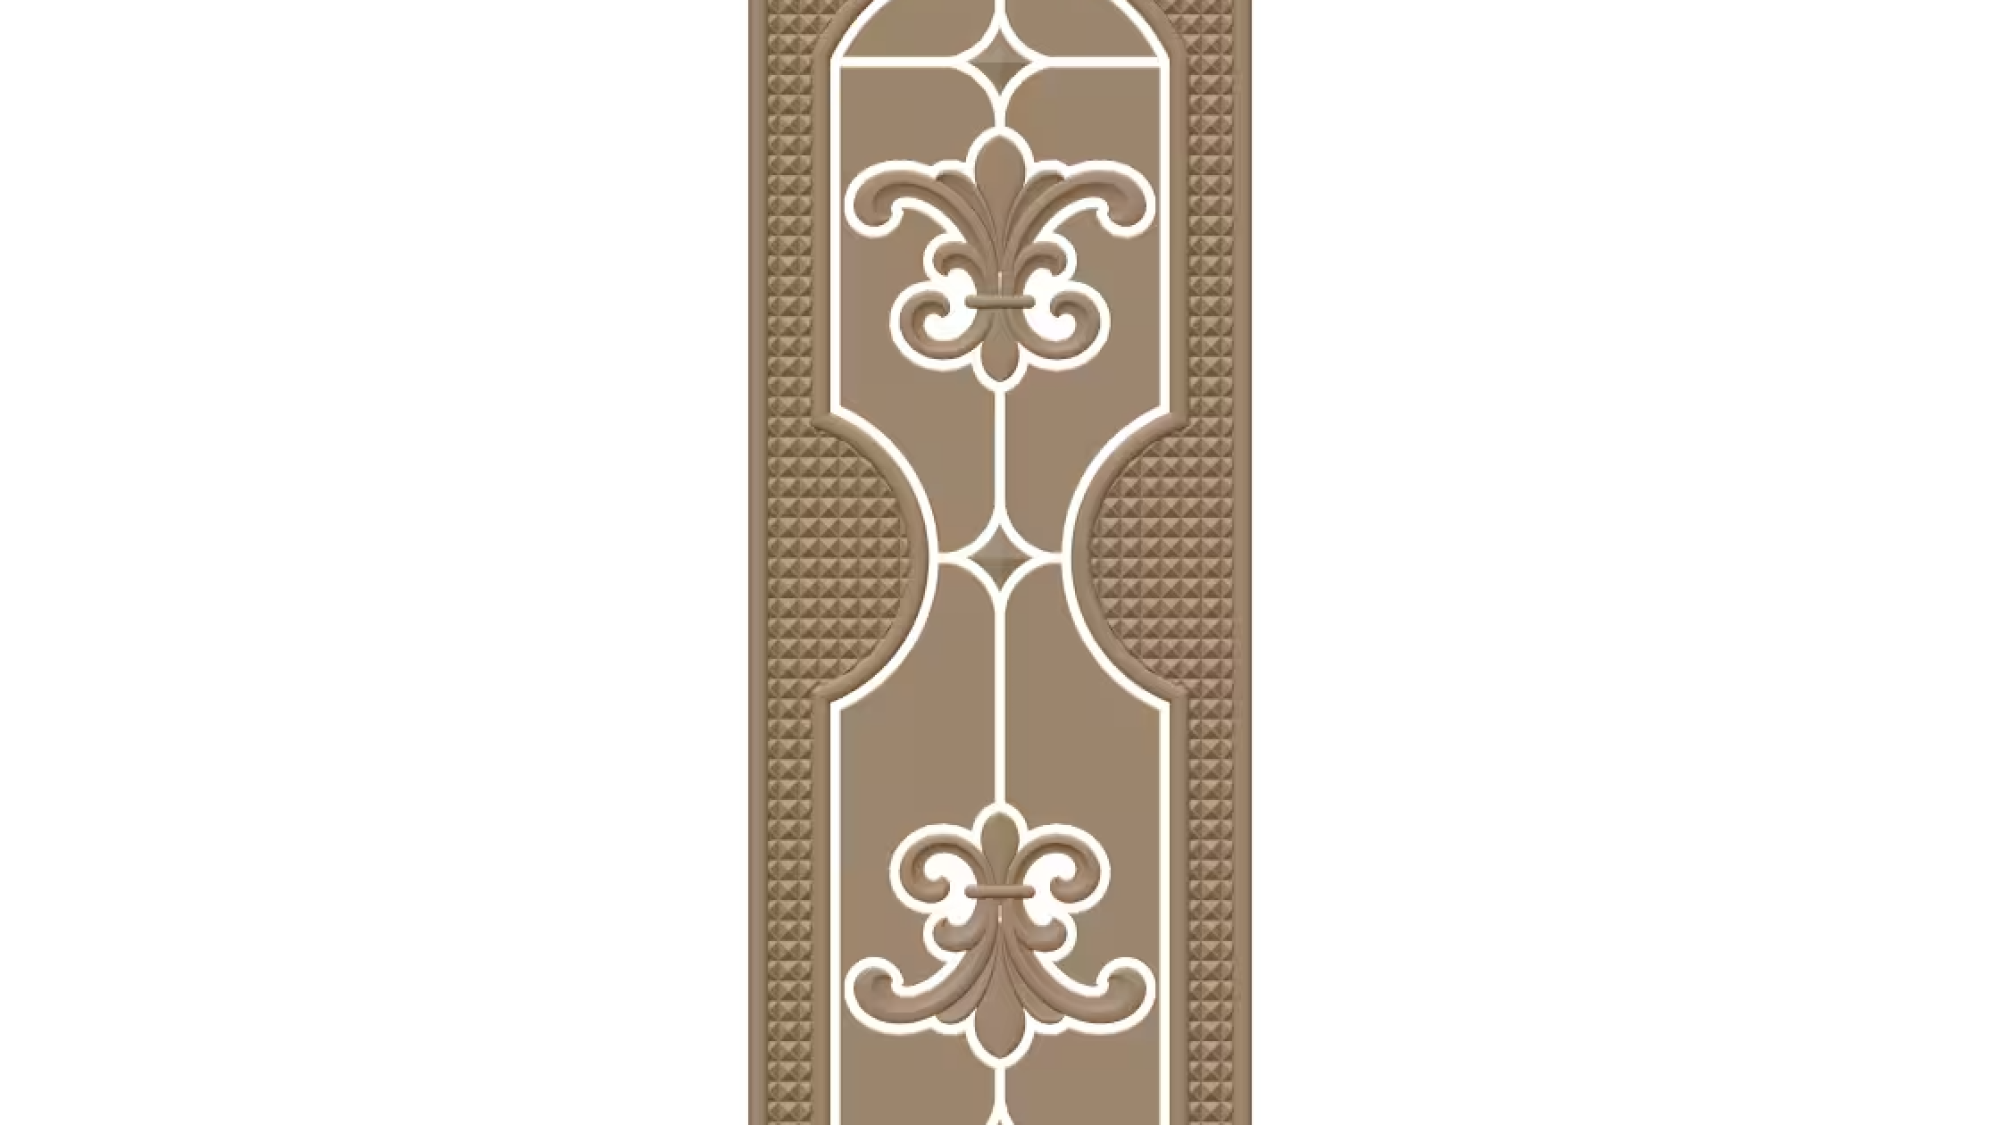
A002696

Decorative 3D Door Design STL for CNC Wood Carving – A002696

Turning a Door into a Decorative Feature

A carved door can bring depth, character, and a sense of craftsmanship to an interior or entrance. A 3D door design STL provides a digital model that guides a CNC machine in cutting raised and recessed details into wood. Motifs may include flowing curves, geometric patterns, floral forms, or ornamental borders, allowing the finished surface to complement a range of architectural styles.

Before choosing a design, consider the door’s purpose and surroundings. A bold relief may suit a spacious entry, while a restrained pattern can add interest without overwhelming a smaller room. The scale and placement of the carved elements matter: details should feel balanced across the panel and remain appropriate to the door’s proportions.

Preparing an STL Model for CNC Wood Carving

An STL file represents a three-dimensional surface, but it still needs to be prepared for the intended machine and material. Check that the model has suitable dimensions, adequate relief depth, and clearly defined forms. Fine details may require a smaller carving bit and additional machining time; broader shapes can often be cut more efficiently with larger tools.

CAM software converts the model into toolpaths, including the roughing and finishing passes used to remove material and refine the surface. Select settings based on the wood species, cutter, machine capabilities, and desired finish. A test cut on scrap material is a practical way to evaluate depth, detail, and overall appearance before carving the final door panel.

Finishing and Design Considerations

After machining, remove dust and carefully sand the surface, taking care not to flatten the relief. A suitable stain, oil, paint, or clear finish can emphasize the carved pattern while protecting the wood. The best choice depends on exposure, maintenance needs, and the look of the surrounding space.

Thoughtful planning helps a decorative CNC-carved door remain both attractive and functional. By matching the STL design to the panel, tools, and finish, makers can create a distinctive feature that reflects the intended style while making effective use of digital carving technology.


Thank You for Being Here

We’re so happy you stopped by! We hope you enjoy your experience and discover the perfect CNC design files for your projects. If you ever need assistance, don’t hesitate to reach out. We’re always glad to help.

Wishing you happy carving, smooth projects, and endless creativity! ✨😊

A002695

CNC Carving 3D Door Panel STL Model Free Download – A002695

The A002695 3D door panel model is intended for CNC carving and can help makers create a decorative feature with depth and visual detail. Before using an STL file for production, review its geometry, dimensions, and suitability for your intended door. A thoughtful preparation process can reduce machining problems and help preserve the design’s finer details.

Review the Model Before Machining

STL files describe a surface as a mesh of connected triangles. Open the A002695 model in a compatible 3D viewer or CAM program and inspect it from several angles. Check for holes, inverted faces, unusually thin sections, or rough mesh areas. Confirm that the panel’s proportions suit the door, and scale the model carefully if adjustments are needed. Scaling can change relief depth as well as overall size, so verify both before proceeding.

Choose Suitable Material and Tooling

Wood is a common choice for carved door panels, although the appropriate species depends on the desired appearance, finish, and working conditions. Softer woods may machine quickly but can show dents, while harder species may retain crisp details and require more careful cutting parameters. Select cutters that fit the design’s smallest features. A larger roughing bit can remove material efficiently; a smaller finishing bit may reveal contours and decorative transitions.

Prepare a Reliable Toolpath

In CAM software, set the stock dimensions, work origin, and safe clearance with care. Consider a roughing pass followed by a finishing pass, and use a test cut or simulation to identify collisions and missed areas. Secure the workpiece firmly, particularly when carving a large panel. Follow the machine and tool manufacturers’ safety guidance, and keep dust extraction appropriate for the material being cut.

Finish for a Consistent Result

After machining, remove tabs or excess material and sand gradually without flattening the carved relief. Apply a compatible sealer or finish only after removing dust and testing the product on a sample. With careful inspection, tool selection, and finishing, the A002695 design can become a refined decorative element for a custom door project.


Thank You for Being Here

We’re so happy you stopped by! We hope you enjoy your experience and discover the perfect CNC design files for your projects. If you ever need assistance, don’t hesitate to reach out. We’re always glad to help.

Wishing you happy carving, smooth projects, and endless creativity! ✨😊
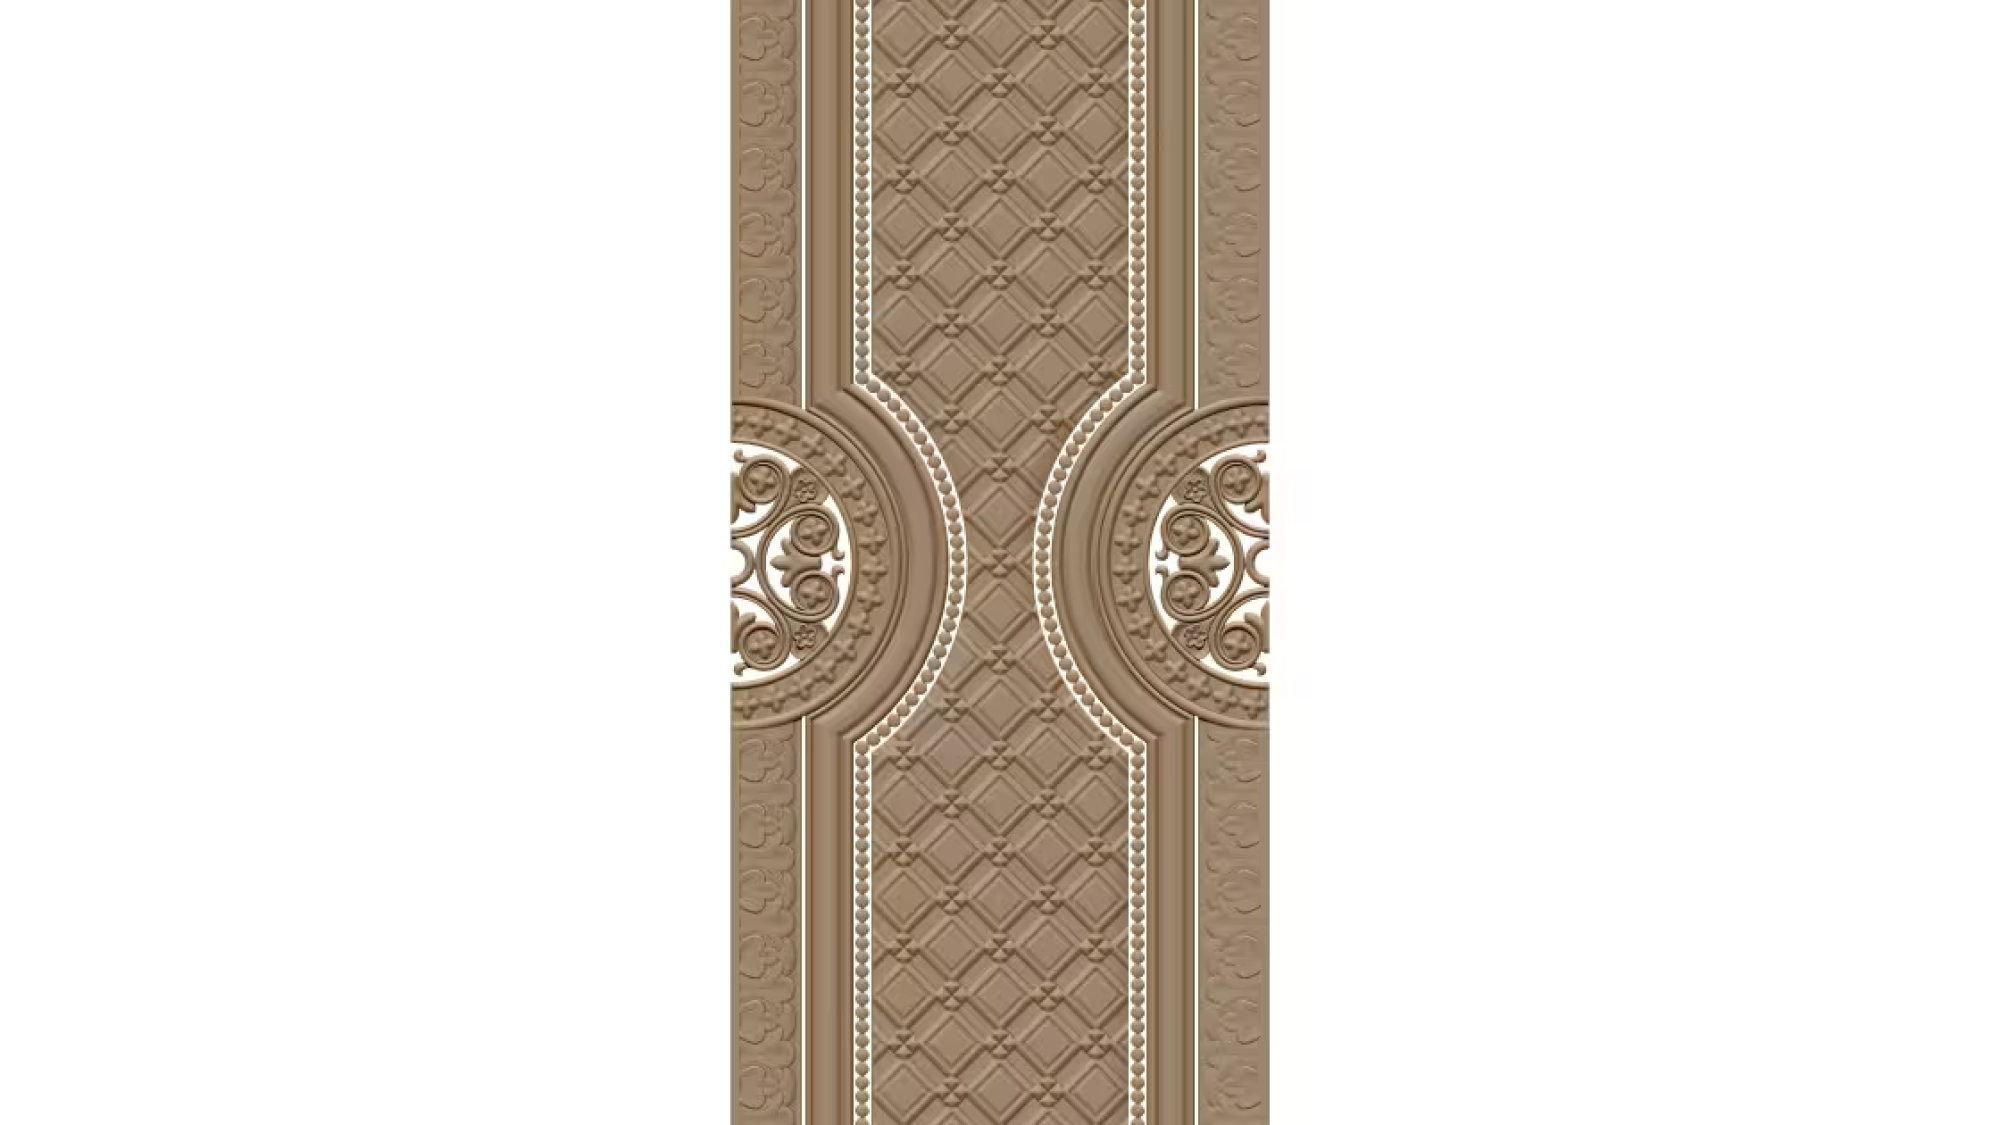
A002694

3D Door Design STL File for CNC Router Carving – A002694

From Digital Relief to Finished Door

A 3D door design STL file provides a detailed model for turning decorative ideas into carved timber. The A002694 design can serve as a starting point for a CNC router project, helping makers create raised patterns, recessed details, and balanced ornamentation with repeatable precision. Before machining, review the model carefully and confirm that its proportions suit the intended door size and style.

Preparing the Model and Material

Check the STL’s dimensions, orientation, and surface detail in your design or CAM software. Scale the model proportionally where possible, and inspect the relief depth to ensure it can be carved cleanly without making the panel too thin. Consider the wood species, grain direction, and any knots or defects, since these affect both the appearance and the stability of the finished piece.

Next, choose suitable tooling and create toolpaths that match the level of detail. A larger cutter can remove material efficiently from broad areas, while a smaller ball-nose bit can capture fine curves and transitions. Set conservative cutting parameters for unfamiliar material, and use a test piece to check the result before machining the full door panel.

Carving, Finishing, and Installation

Secure the stock firmly and verify the machine’s zero point before starting. Keep the work area clear, use appropriate dust extraction and safety equipment, and monitor the first passes for vibration or unexpected movement. After carving, sand carefully to soften tool marks without erasing crisp details. Apply a suitable finish to protect the wood and bring out the depth of the design.

A successful CNC-carved door depends on more than an attractive STL file. Careful scaling, thoughtful toolpath planning, sound material selection, and patient finishing all contribute to a polished result. Treat a002694 as a design foundation, then adapt its scale and finish to complement the surrounding architecture and the door’s intended use.


Thank You for Being Here

We’re so happy you stopped by! We hope you enjoy your experience and discover the perfect CNC design files for your projects. If you ever need assistance, don’t hesitate to reach out. We’re always glad to help.

Wishing you happy carving, smooth projects, and endless creativity! ✨😊

A002693

Ornament design for CNC carving STL file A002693

Understanding the Ornament Design

An ornament intended for CNC carving combines visual detail with practical considerations. For STL file a002693, begin by reviewing the model from several angles and identifying its main forms, repeating motifs, and overall proportions. A clear understanding of the design helps determine how it will look when translated from a digital model into a physical piece. Consider the ornament’s intended setting, such as a cabinet door, decorative panel, frame, or standalone accent, before choosing its final size.

Ornamental patterns often rely on flowing lines, balanced spacing, and changes in relief to create depth. These qualities can be especially effective when light falls across raised and recessed areas. If the design includes fine features, inspect them carefully at the planned carving scale; details that appear distinct on screen may become difficult to reproduce when reduced.

Preparing the Model for CNC Carving

Before machining, confirm that the STL model imports correctly into the chosen CAM software and has a suitable scale. Check for gaps, overlapping surfaces, or other mesh issues that could affect toolpath generation. The material and cutter also influence the result. Wood, for example, may require attention to grain direction and fragile projections, while a smaller bit can capture tighter contours but may increase machining time.

Plan the carving strategy around the design’s relief and the capabilities of the machine. A roughing pass can remove bulk material efficiently, followed by a finishing pass to refine the ornament’s curves and surface. Always review the toolpaths and use a safe simulation before cutting. A small test carve can reveal whether the chosen depth, bit, and feed settings preserve the intended detail.

Finishing and Practical Use

After carving, remove dust and carefully smooth the surface without erasing fine edges. Apply a finish suited to the material and the ornament’s purpose, testing it on scrap first when color or sheen matters. With thoughtful preparation, ornament design a002693 can become a polished decorative feature that balances visual character with reliable, workshop-ready execution.


Thank You for Being Here

We’re so happy you stopped by! We hope you enjoy your experience and discover the perfect CNC design files for your projects. If you ever need assistance, don’t hesitate to reach out. We’re always glad to help.

Wishing you happy carving, smooth projects, and endless creativity! ✨😊
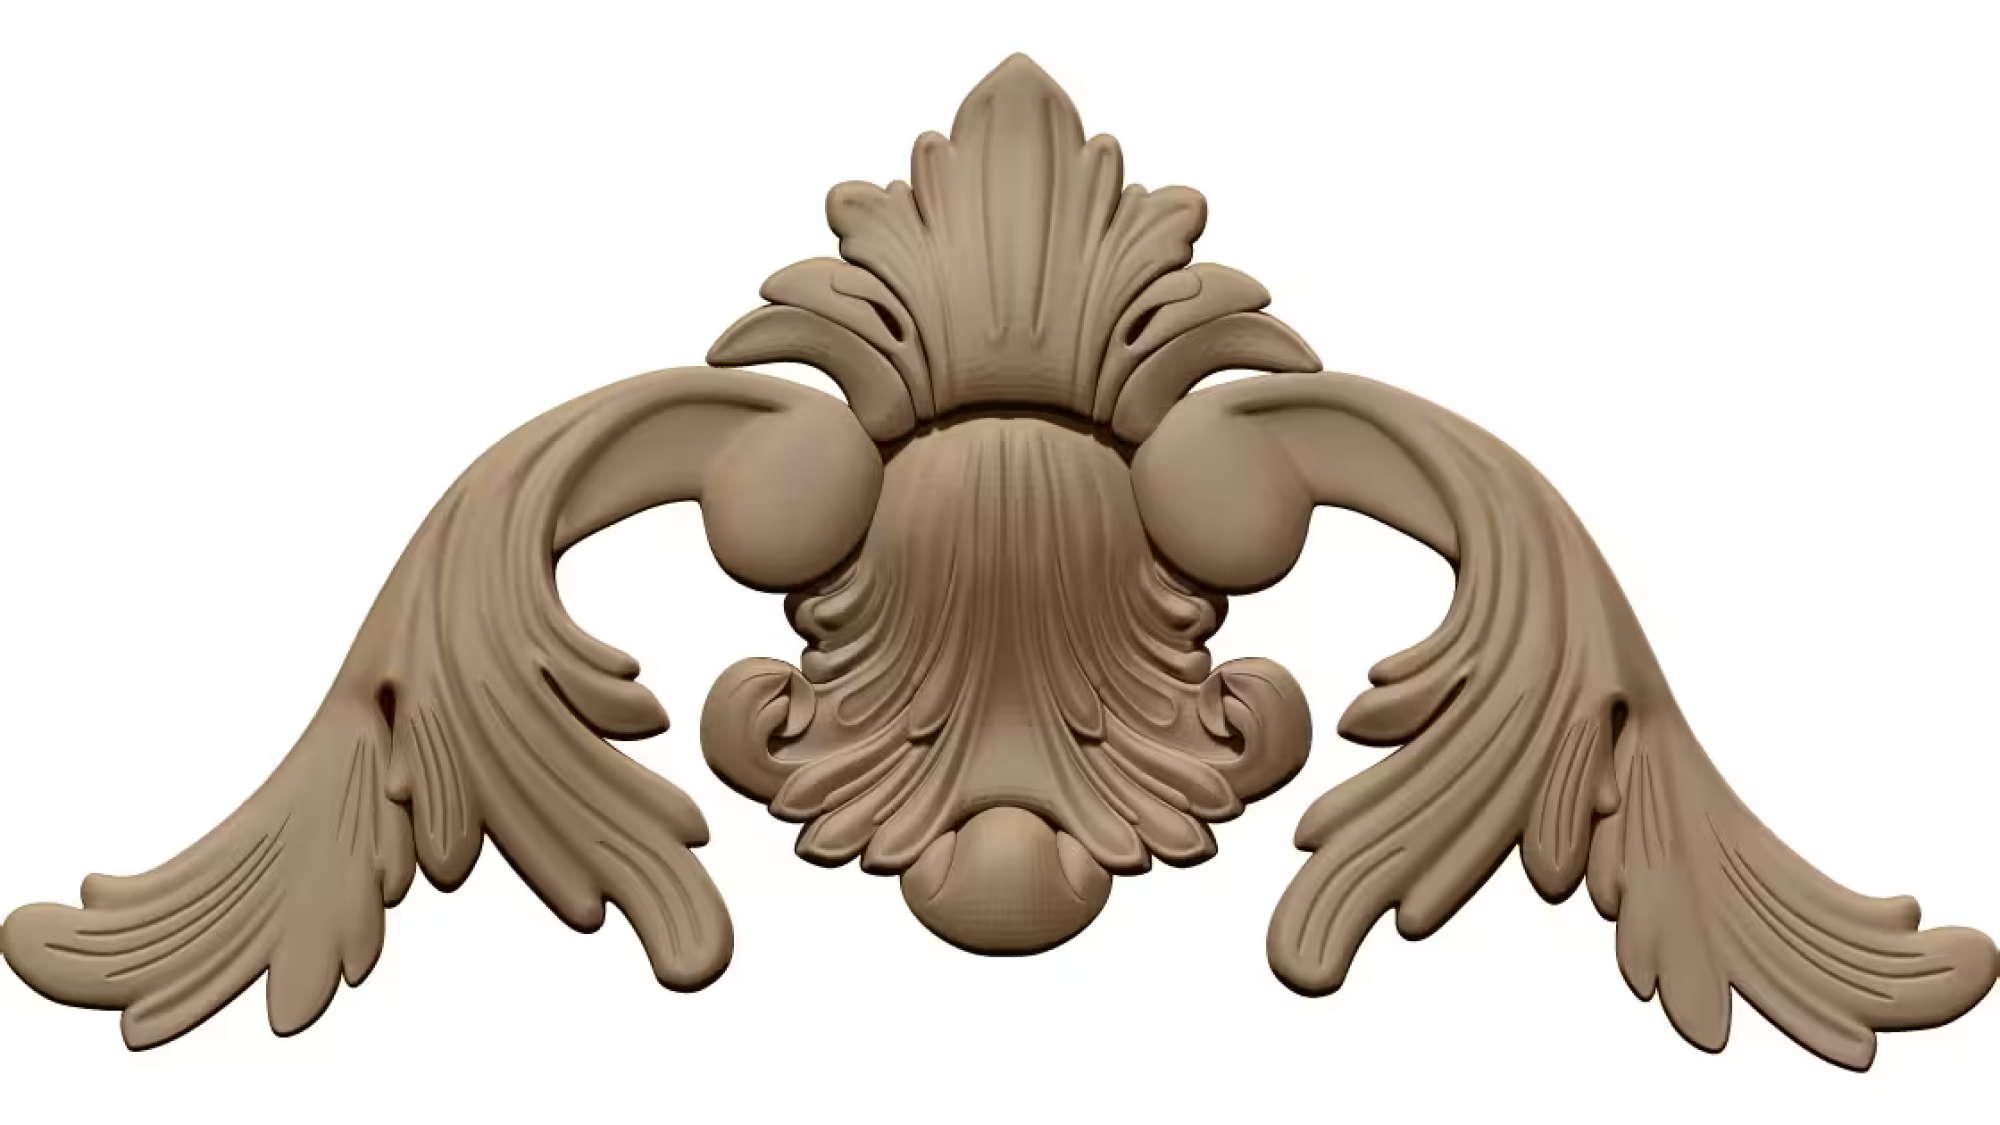
A002692

Ornament design for carving CNC STL file A002692

Understanding the Ornament Design

Ornament design for CNC carving combines decorative form with the practical requirements of machining. The A002692 STL file represents a digital model intended to guide a carving tool through a chosen material. Before production, examine the model carefully: note its overall dimensions, relief depth, raised details, and the relationship between its central motif and surrounding border. These features influence both the finished appearance and the time required to carve it.

STL files describe surfaces as a mesh of connected triangles. A clean, sufficiently detailed mesh helps preserve curved lines and small decorative elements when the design is scaled. Review the file in suitable 3D software, checking for gaps, inverted surfaces, or uneven areas. If resizing is necessary, consider whether fine details will remain distinct at the new dimensions.

Preparing for CNC Carving

Choose a material that suits the intended use and level of detail. Wood offers a traditional finish, while suitable plastics or composite materials may provide consistency for decorative panels and prototypes. The material’s hardness, grain, and thickness can affect tool choice and cutting strategy.

Set the workpiece dimensions and secure it firmly before machining. In CAM software, orient the model, establish the cutting depth, and select a toolpath appropriate to the relief. A roughing pass can remove excess material efficiently; a finer finishing pass helps reveal small contours. Use a cutter narrow enough for delicate recesses, while avoiding settings that are unnecessarily slow or likely to cause tool breakage. Always verify the toolpath with a simulation and confirm that the machine’s work area can accommodate the design.

Finishing and Applying the Motif

After carving, remove dust and inspect the ornament under good lighting. Light sanding may soften tool marks, but excessive sanding can diminish crisp edges and shallow details. Apply a finish compatible with the material and the piece’s setting, testing it on a small area first.

A002692 can be considered for furniture accents, decorative panels, frames, or other projects where a carved motif adds visual character. Careful inspection, thoughtful machining, and restrained finishing help translate the digital relief into a refined physical ornament.


Thank You for Being Here

We’re so happy you stopped by! We hope you enjoy your experience and discover the perfect CNC design files for your projects. If you ever need assistance, don’t hesitate to reach out. We’re always glad to help.

Wishing you happy carving, smooth projects, and endless creativity! ✨😊
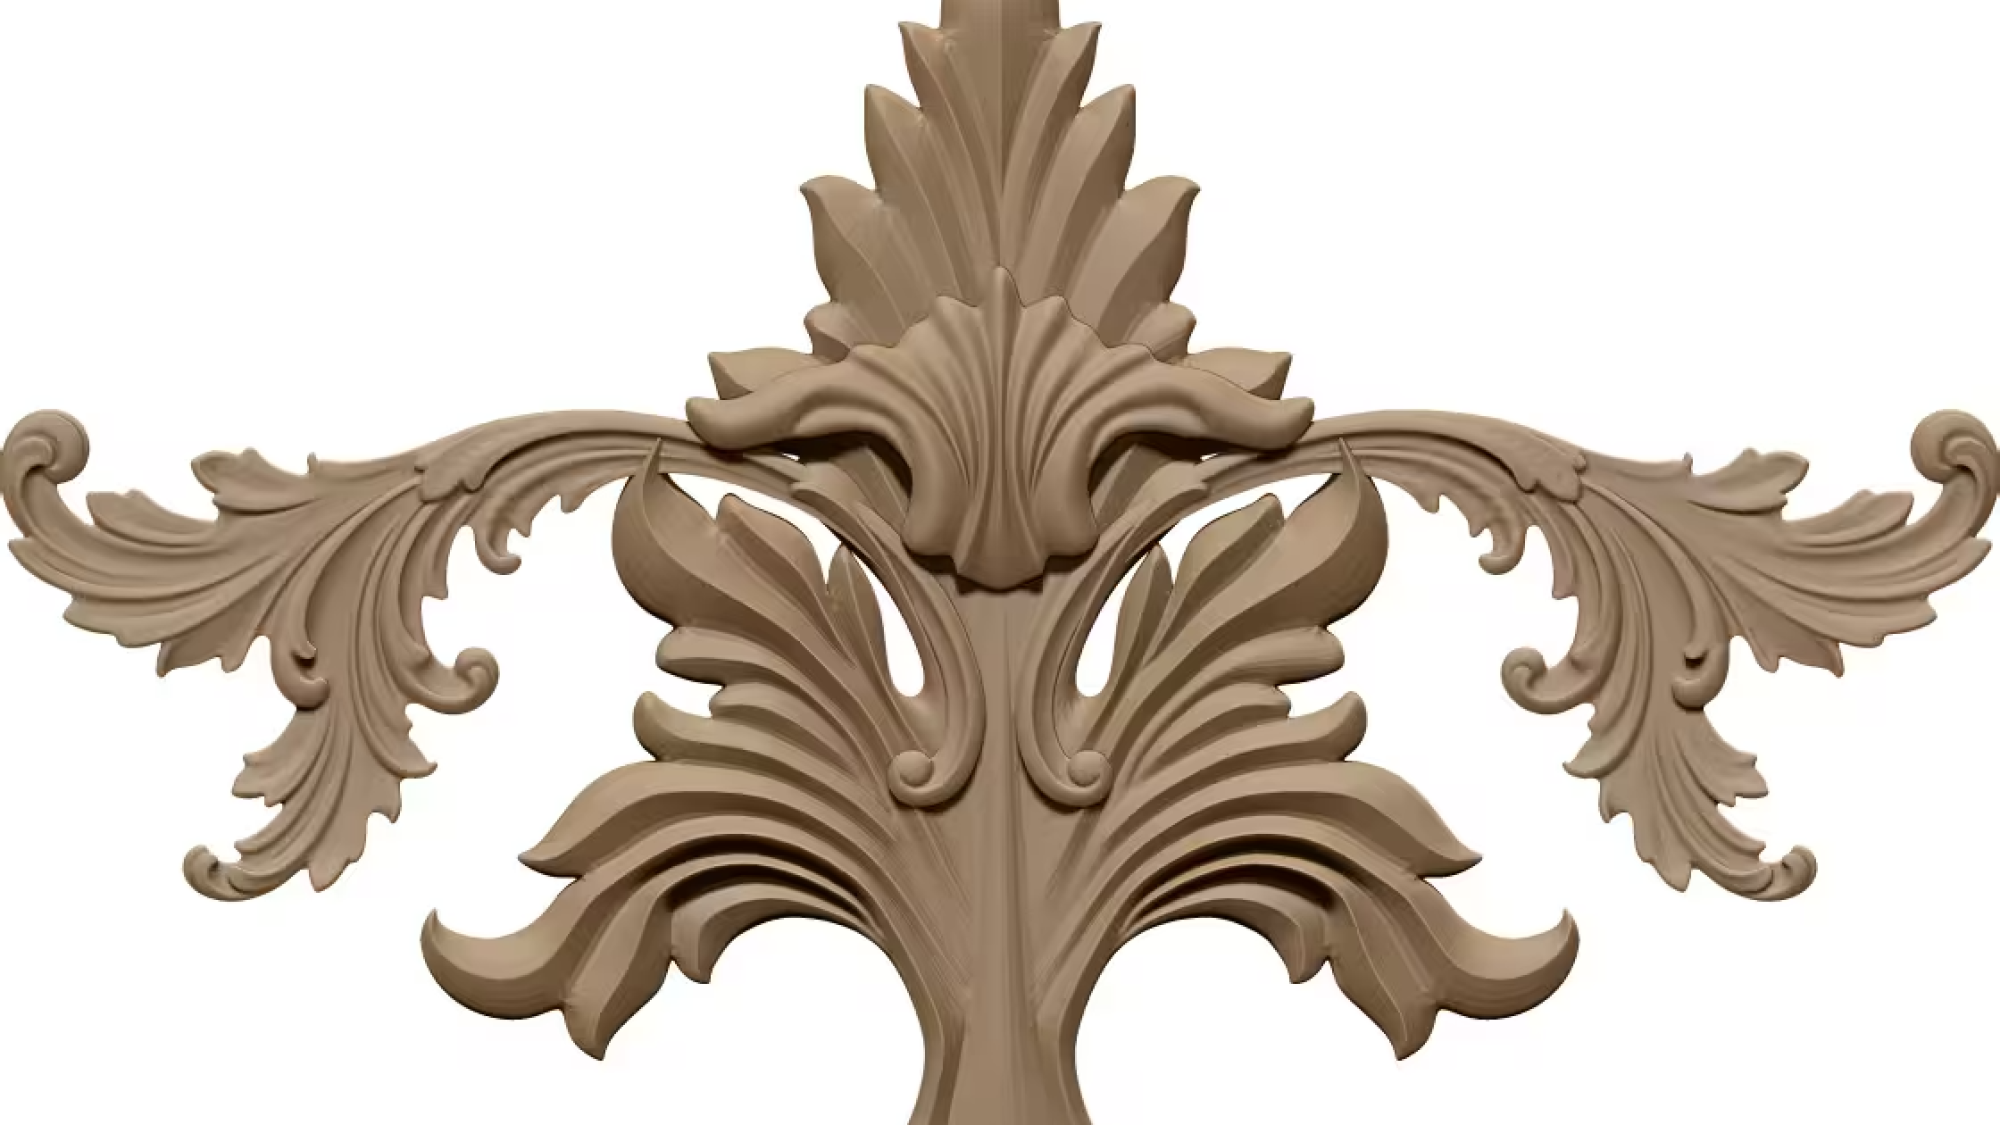
A002691

Ornament design for CNC STL file A002691

Turning an Ornament Concept into a Carvable Design

An ornament intended for CNC production must balance visual detail with practical geometry. For STL file a002691, begin by considering the intended use: a wall accent, furniture detail, cabinet insert, or standalone decorative piece. The design’s scale and placement influence how its curves, borders, and raised features will appear after carving. Clear silhouettes and well-defined depth transitions help preserve the ornament’s character in wood, plastic, or another suitable material.

Relief depth deserves particular attention. Shallow forms can create a refined, understated effect, while deeper carving gives stronger shadows and a more sculptural appearance. Fine lines and narrow recesses may be lost if they are smaller than the cutter can reproduce. Reviewing the design at its final physical dimensions helps identify details that may need simplification before machining.

Preparing the STL for CNC Work

An STL model represents a surface as a mesh, so its resolution affects how smoothly curved features are rendered. A sufficiently dense mesh can retain flowing contours without creating unnecessarily heavy files. Before toolpath creation, inspect the model for holes, inverted faces, overlapping surfaces, and unintended distortions. Confirm that the ornament is oriented correctly and that its overall dimensions match the material blank.

Tool selection should reflect both the design and the desired finish. Larger cutters remove material efficiently from broad areas; smaller ball-nose or tapered bits can reach finer recesses and soften transitions. A roughing pass followed by a finishing pass is often useful for detailed relief work. Always verify clearances and machining depth in the CAM preview, then test on scrap material when possible.

Finishing and Display

After carving, remove dust and carefully sand accessible surfaces without flattening the ornament’s defining edges. A stain, paint, oil, or clear finish can emphasize different aspects of the relief, so test the chosen treatment on a sample first. Thoughtful preparation and finishing allow a decorative CNC design such as a002691 to retain its detail and suit its intended setting.


Thank You for Being Here

We’re so happy you stopped by! We hope you enjoy your experience and discover the perfect CNC design files for your projects. If you ever need assistance, don’t hesitate to reach out. We’re always glad to help.

Wishing you happy carving, smooth projects, and endless creativity! ✨😊
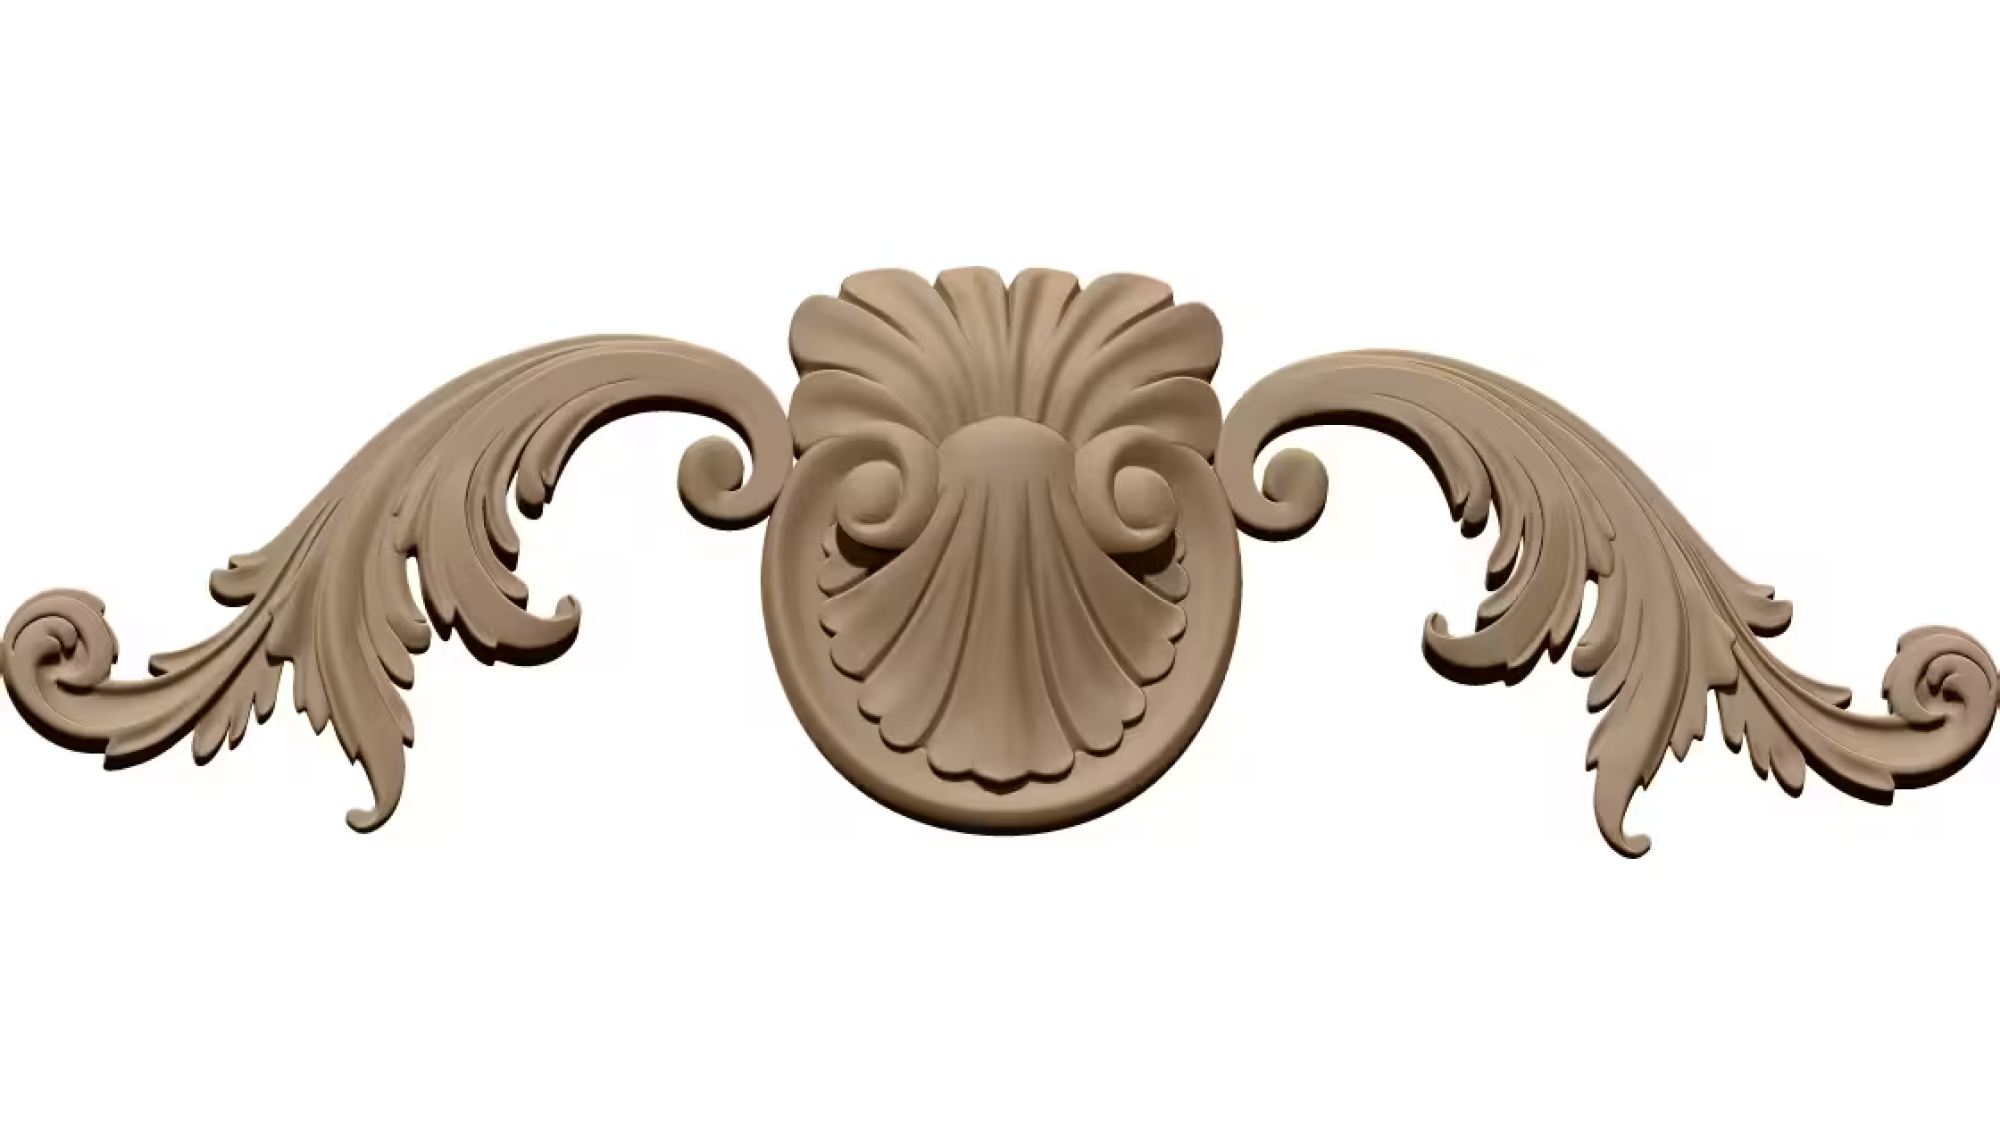
A002690

Ornamental design for CNC STL file A002690

A Decorative Design for Precision Making

Ornamental details can add character to furniture, cabinetry, wall panels, signs, and other crafted pieces. CNC STL file a002690 offers a digital starting point for producing a decorative form with a computer-controlled router or carving machine. The STL format represents a three-dimensional surface, allowing compatible software to preview the design and prepare it for machining.

Before cutting, review the model’s proportions and intended use. Consider how its scale will relate to the surrounding piece, and whether the relief should appear subtle or pronounced. A decorative element that works well on a broad panel may need adjustment for a smaller application. Checking the model in a 3D viewer can help identify orientation, surface detail, and potential fit issues before material is committed.

Preparing the Model and Material

Import the STL into a suitable CAM program and select a stock size that accommodates the design, including a small margin for workholding and finishing. Set the model’s dimensions and position carefully. Toolpath choices depend on the detail level, material, machine capability, and desired surface quality. A roughing pass can remove excess material efficiently, while a finer finishing pass helps define curves and decorative contours.

Wood is a common choice for ornamental carving, but suitable plastics and other machinable materials may also be considered. Match the cutter to the material and the smallest features in the design. Secure the stock firmly, verify the cutting area, and use a simulation to check for collisions or unexpected tool movement. A test cut on scrap material is a practical way to confirm scale and settings.

Finishing the Ornamental Piece

After machining, remove the part carefully and inspect its edges and relief. Light sanding may improve the surface, though excessive sanding can soften fine details. Apply a finish appropriate to the material and intended setting. Stain can emphasize carved depth in wood, while paint may create a crisp contrast across the ornament.

With thoughtful scaling, careful toolpath preparation, and measured finishing, this ornamental STL design can become a distinctive component in a larger project. Treat each production step as an opportunity to preserve detail and achieve a clean, balanced result.


Thank You for Being Here

We’re so happy you stopped by! We hope you enjoy your experience and discover the perfect CNC design files for your projects. If you ever need assistance, don’t hesitate to reach out. We’re always glad to help.

Wishing you happy carving, smooth projects, and endless creativity! ✨😊
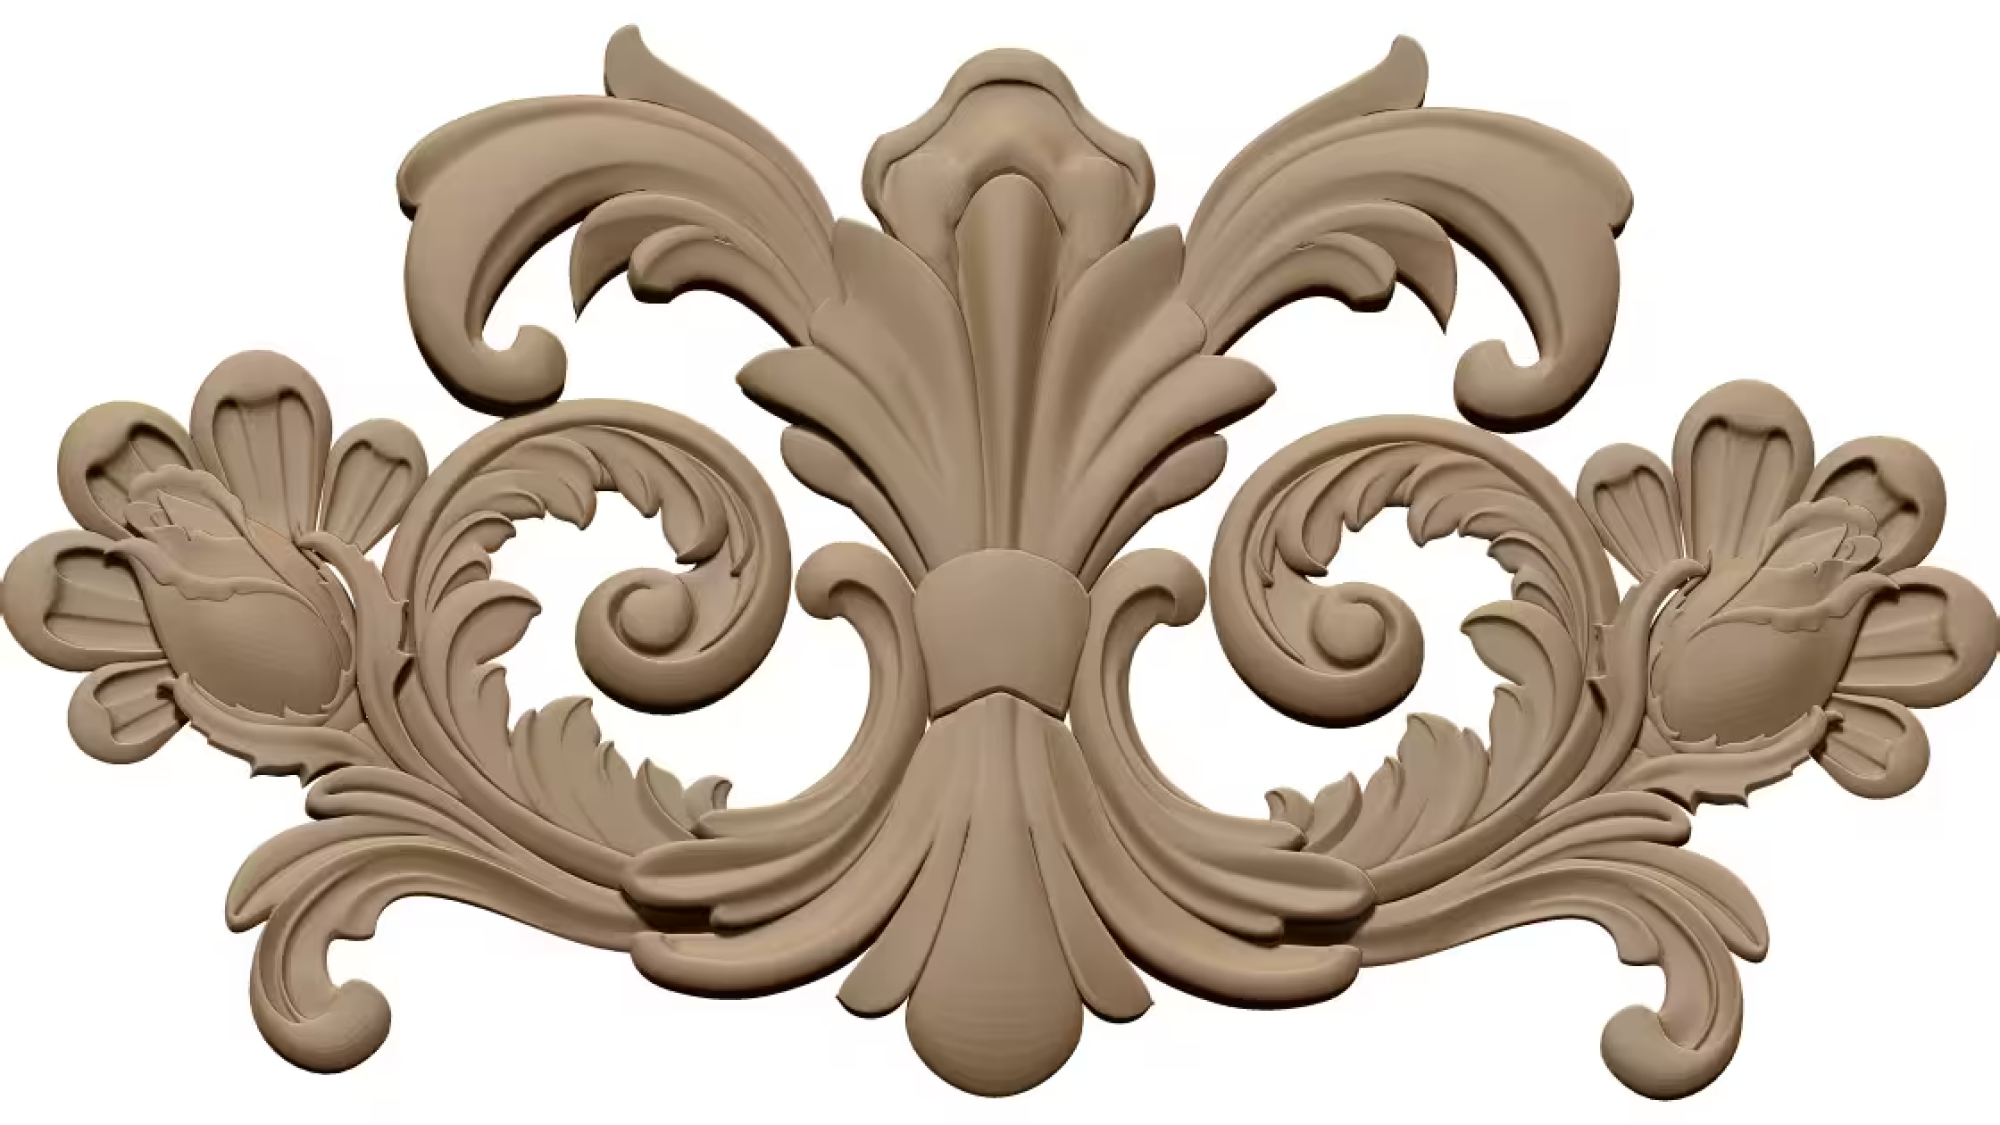
A002689

Ornamental design STL file A002689

Understanding the A002689 Ornamental Design STL

The A002689 ornamental design STL file represents a digital model intended for use in three-dimensional design and fabrication. STL files describe an object’s surface geometry, allowing compatible software and equipment to interpret its form. For designers, makers, and restoration enthusiasts, an ornamental model can provide a practical starting point for adding decorative detail to a project.

Before using the file, review its preview and available specifications. Confirm the overall shape, proportions, and level of detail suit the intended application. An STL model may need adjustment before production, particularly when the final piece must fit a specific surface, opening, or assembly. Consider the intended material and the viewing distance as well: fine features may appear differently depending on the printing process and the size of the finished object.

Preparing the Model for Production

Import the file into a slicer or 3D modeling program to inspect its orientation, dimensions, and mesh. Scaling can help match the design to a project, but changing the size may affect delicate features. Check for holes, disconnected surfaces, or other mesh issues, then repair them if necessary. Depending on the geometry and manufacturing method, the model may also require supports or a carefully chosen print orientation.

For a clean result, select settings appropriate to the ornament’s level of detail. A finer layer height may preserve small contours, while a stable base and suitable support strategy can reduce defects. If the ornament will be attached to another object, test the fit with a small prototype before producing the final piece.

Using Decorative Models Thoughtfully

Ornamental designs can enhance furniture accents, craft projects, architectural mock-ups, and personalized objects. Their success depends on both visual balance and practical execution. Match the finish and scale to the surrounding design, and consider sanding, priming, or painting where the material permits. Always check the file’s usage terms before sharing, modifying, or producing it, especially for commercial purposes. With careful preparation, A002689 can serve as a useful resource for turning a digital decorative concept into a tangible detail.


Thank You for Being Here

We’re so happy you stopped by! We hope you enjoy your experience and discover the perfect CNC design files for your projects. If you ever need assistance, don’t hesitate to reach out. We’re always glad to help.

Wishing you happy carving, smooth projects, and endless creativity! ✨😊
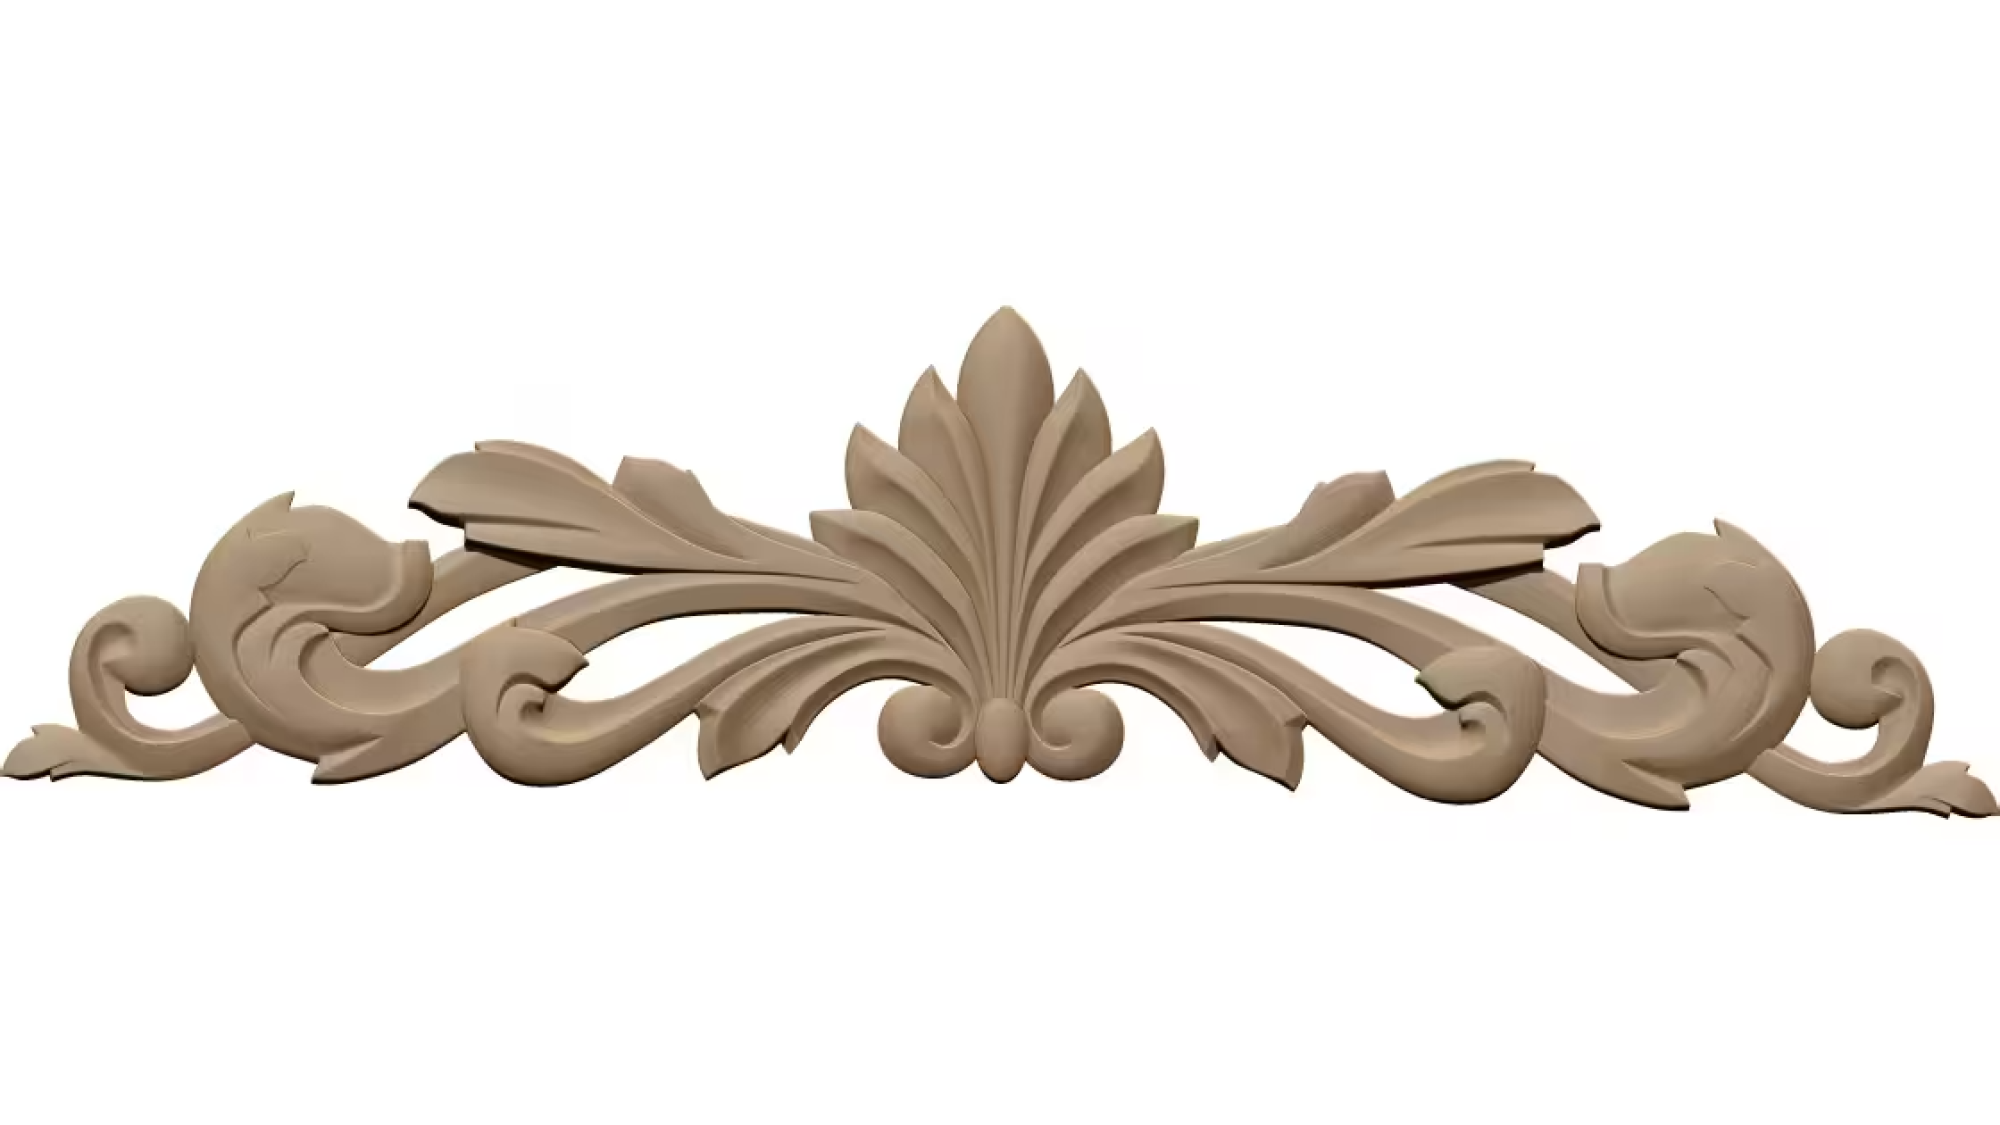
A002688

Ornamental design for CNC carving STL file A002688

Ornamental CNC carving design A002688 offers a decorative pattern intended for translation from a digital model into a physical carved surface. Supplied as an STL file, the design represents geometry that can be interpreted by compatible computer-aided manufacturing software and prepared for a CNC router or carving machine. Its value lies in the way ornamental detail can bring character to furniture, architectural features, signs, and custom craft projects.

Understanding the STL Design

An STL file describes a model as a collection of connected triangular surfaces. Before carving, the file should be opened in suitable software and inspected for scale, orientation, surface integrity, and overall dimensions. Ornament may appear different depending on the intended material and final size, so a preview or test cut can help confirm that fine details will remain clear. The file itself describes shape; toolpaths and machine settings must still be configured for the specific project.

Choosing Materials and Applications

Decorative relief can be applied to wood, certain plastics, and other materials supported by the machine and cutting tools. Hardwood may emphasize crisp edges, while softer stock can be easier to carve but may show less definition in delicate areas. A002688 can be considered for panels, cabinet accents, frames, decorative plaques, or other surfaces where a patterned feature is appropriate. Its suitability depends on the design’s proportions, the available carving area, and the visual style of the surrounding piece.

Preparing for a Clean Carve

Successful results begin with careful preparation. Check that the model fits the workpiece, select a cutter suited to the smallest details, and set a safe cutting depth. A roughing pass can remove excess material efficiently, followed by a finer finishing pass to reveal the ornament. Secure the material firmly and verify machine settings before starting. Where possible, carve a sample in comparable stock and inspect the result under good lighting.

Finishing and Design Integration

After machining, remove dust and small burrs without erasing delicate features. Sanding, staining, painting, or a clear protective finish can change the contrast and apparent depth of the carving. Thoughtful placement and restrained finishing allow ornamental design A002688 to complement a piece rather than overwhelm it, helping the finished work feel intentional and well balanced.


Thank You for Being Here

We’re so happy you stopped by! We hope you enjoy your experience and discover the perfect CNC design files for your projects. If you ever need assistance, don’t hesitate to reach out. We’re always glad to help.

Wishing you happy carving, smooth projects, and endless creativity! ✨😊
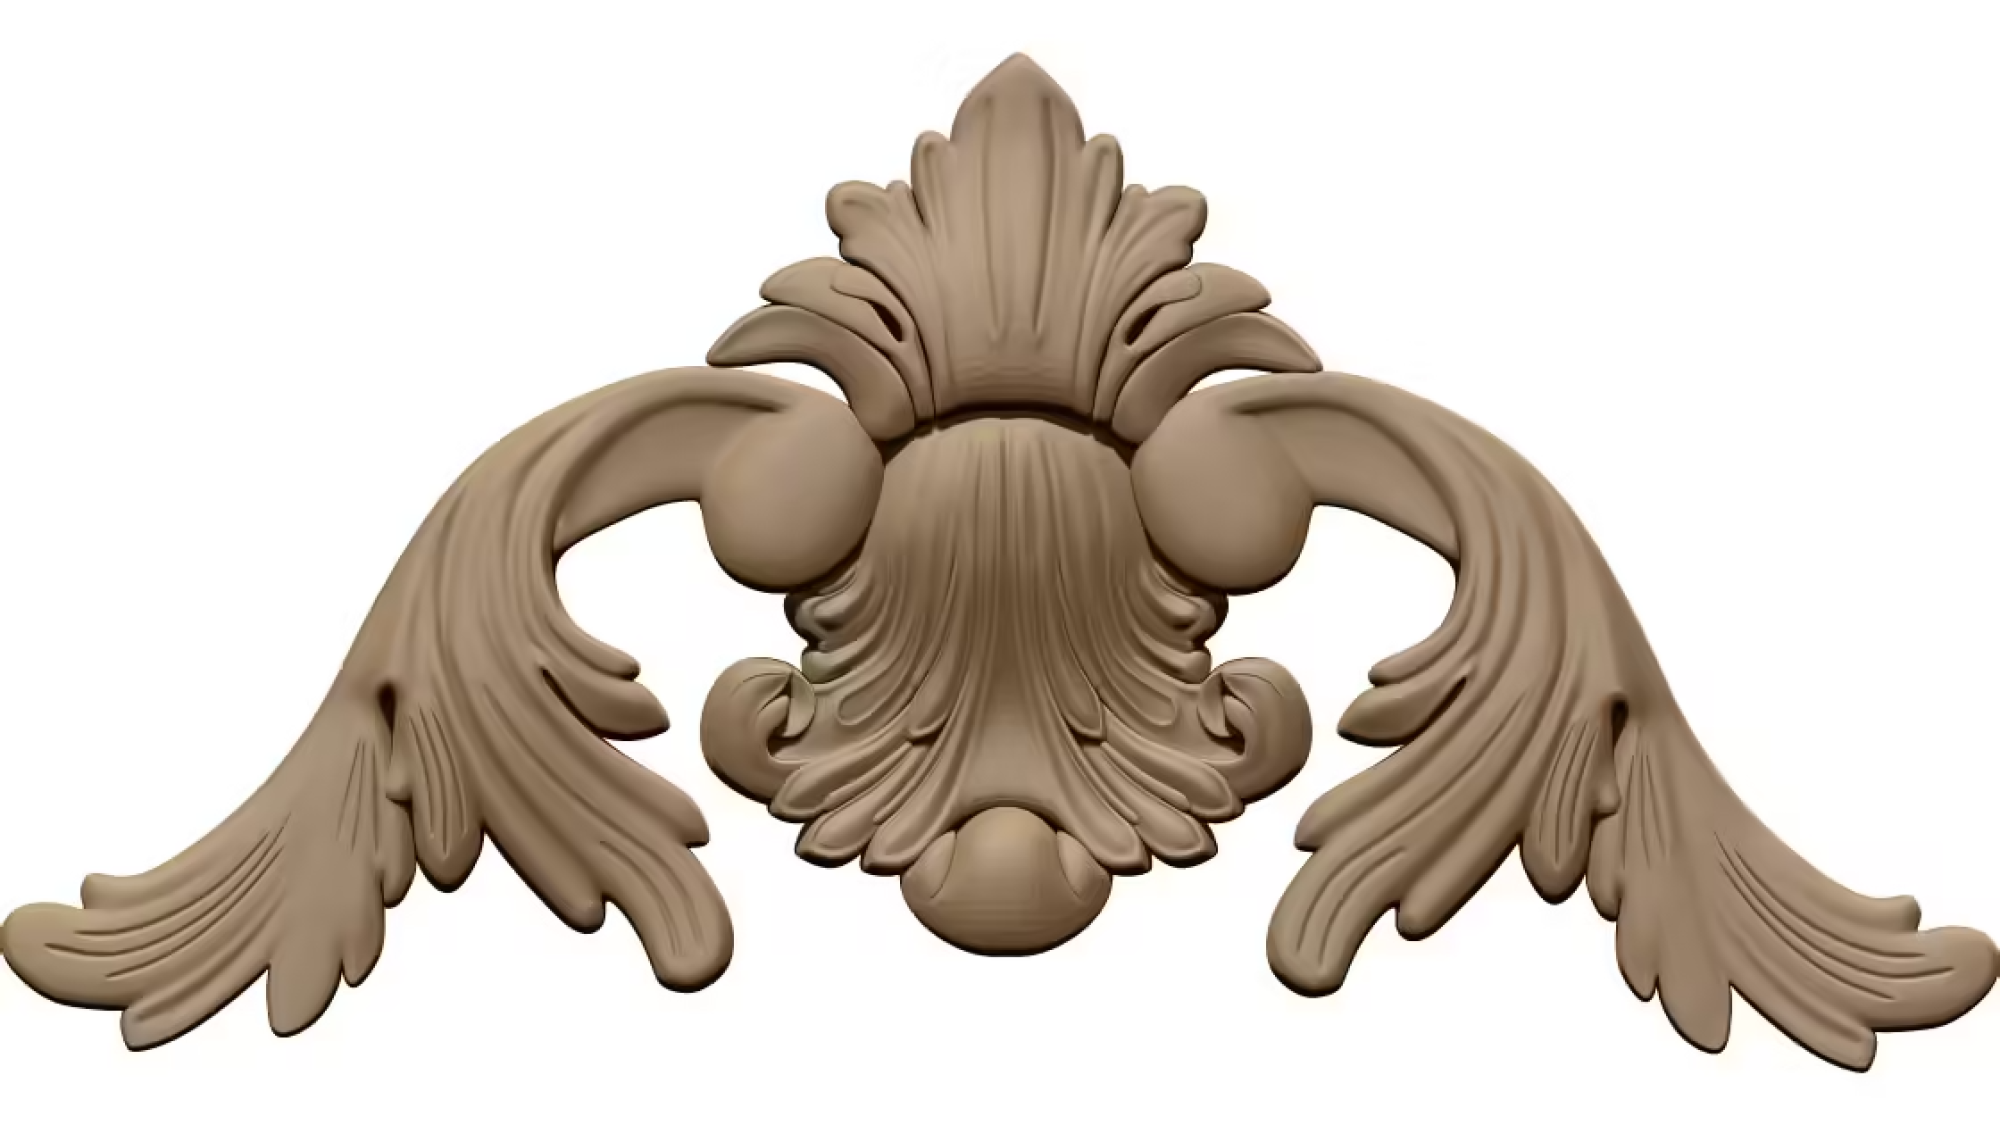
A002687

Ornamental decor for CNC carving STL file A002687

Ornamental details can bring depth, character, and visual balance to furniture, wall panels, cabinetry, and decorative objects. STL file A002687 provides a digital starting point for producing a carved ornament with a CNC machine. Before beginning a project, it is important to understand how the model fits the intended material, scale, and finish.

Review the Model Before Carving

An STL file represents a three-dimensional surface as a mesh. Open A002687 in suitable modeling or CAM software and inspect its shape, dimensions, and overall mesh quality. Confirm that the design is correctly oriented and scaled for the workpiece. Examine narrow details and recessed areas closely, since these features can affect tool access and the final level of definition.

Plan the Material and Toolpath

Choose a material that suits both the design and the project’s purpose. Wood offers a traditional appearance, while plastics and other machinable materials may be appropriate for different applications. In CAM software, select cutting tools and machining strategies that can reproduce the model’s details without leaving fragile sections unsupported. A roughing pass can remove excess material efficiently; a finer finishing pass can refine the ornament’s contours. Test settings on a sample when possible, especially when working with an unfamiliar material or machine.

Make the Ornament Part of a Cohesive Design

Consider the ornament’s proportions in relation to the surrounding surface. A motif that is too large or too small may disrupt the composition, while consistent spacing and alignment can help it feel integrated. Sanding, staining, painting, or sealing may further define the carved relief, but finishing choices should complement the material and intended setting.

Prepare for a Reliable Result

Secure the workpiece firmly, verify the machine’s zero point, and check that the toolpath stays within the available cutting area. A careful review before machining helps reduce errors and material waste. With thoughtful preparation, STL file A002687 can serve as a useful foundation for a polished ornamental carving tailored to a specific project.


Thank You for Being Here

We’re so happy you stopped by! We hope you enjoy your experience and discover the perfect CNC design files for your projects. If you ever need assistance, don’t hesitate to reach out. We’re always glad to help.

Wishing you happy carving, smooth projects, and endless creativity! ✨😊
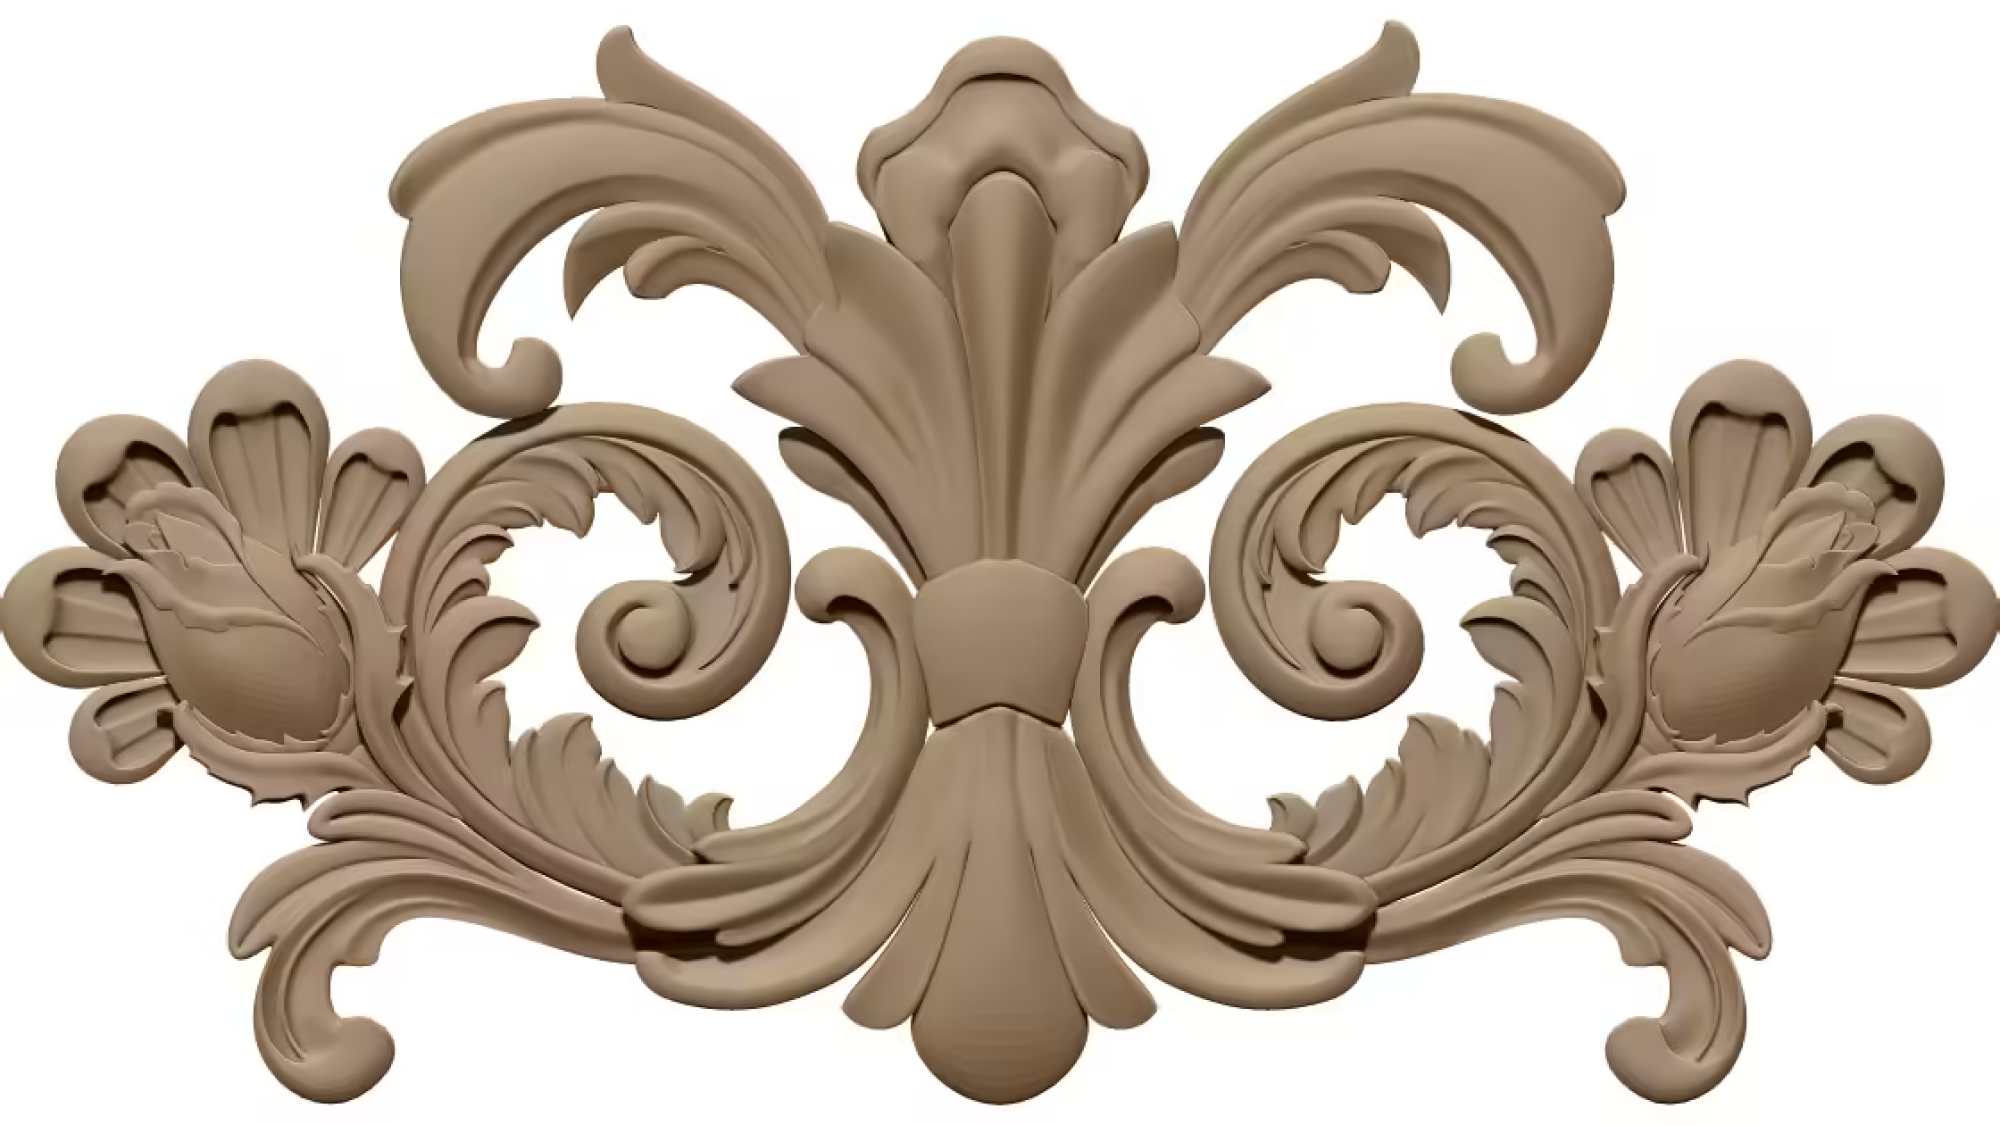
A002686

Ornament decor design for CNC carving STL file A002686

Ornamental carving brings visual character to furniture, architectural details, frames, and decorative panels. The A002686 ornament design, prepared as an STL file, offers a digital starting point for producing a raised decorative motif with a CNC machine. Before carving, consider how its shape, scale, and level of detail will work within the finished project.

Understanding the Ornament Design

An ornamental pattern can add rhythm and refinement without overwhelming the surface around it. Review the STL model from several angles to understand its contours, relief depth, and overall proportions. A design that appears balanced on screen should also suit the intended location, whether it will be used as a central feature or repeated as part of a larger composition. Check the model dimensions and adjust them to match the available material and surrounding elements.

Preparing the STL for CNC Carving

Good preparation supports a cleaner, more predictable result. Confirm that the model is correctly oriented, has suitable dimensions, and contains no unintended gaps or irregular geometry. In CAM software, choose toolpaths that reflect the design’s detail and the material being carved. A roughing pass can remove excess stock, while a finer finishing pass helps reveal smaller curves and transitions. Select an appropriate cutter, feed rate, and cutting depth for the machine and workpiece rather than relying on one setting for every project.

Choosing Materials and Finishing

Wood is a traditional choice for decorative relief because its grain adds warmth, though the species affects both carving behavior and appearance. Test settings on a sample when possible, especially for intricate areas. Secure the workpiece firmly and keep the cutting area clear during operation. After carving, remove dust and lightly sand only where needed to preserve crisp details. Stain, paint, or a clear finish can emphasize the ornament’s depth and help it coordinate with the surrounding decor.

Making the Design Your Own

Use A002686 as a foundation for thoughtful customization. Scale it, pair it with complementary trim, or repeat it to establish a consistent decorative theme. Careful planning transforms a digital ornament into a polished feature suited to its setting.


Thank You for Being Here

We’re so happy you stopped by! We hope you enjoy your experience and discover the perfect CNC design files for your projects. If you ever need assistance, don’t hesitate to reach out. We’re always glad to help.

Wishing you happy carving, smooth projects, and endless creativity! ✨😊
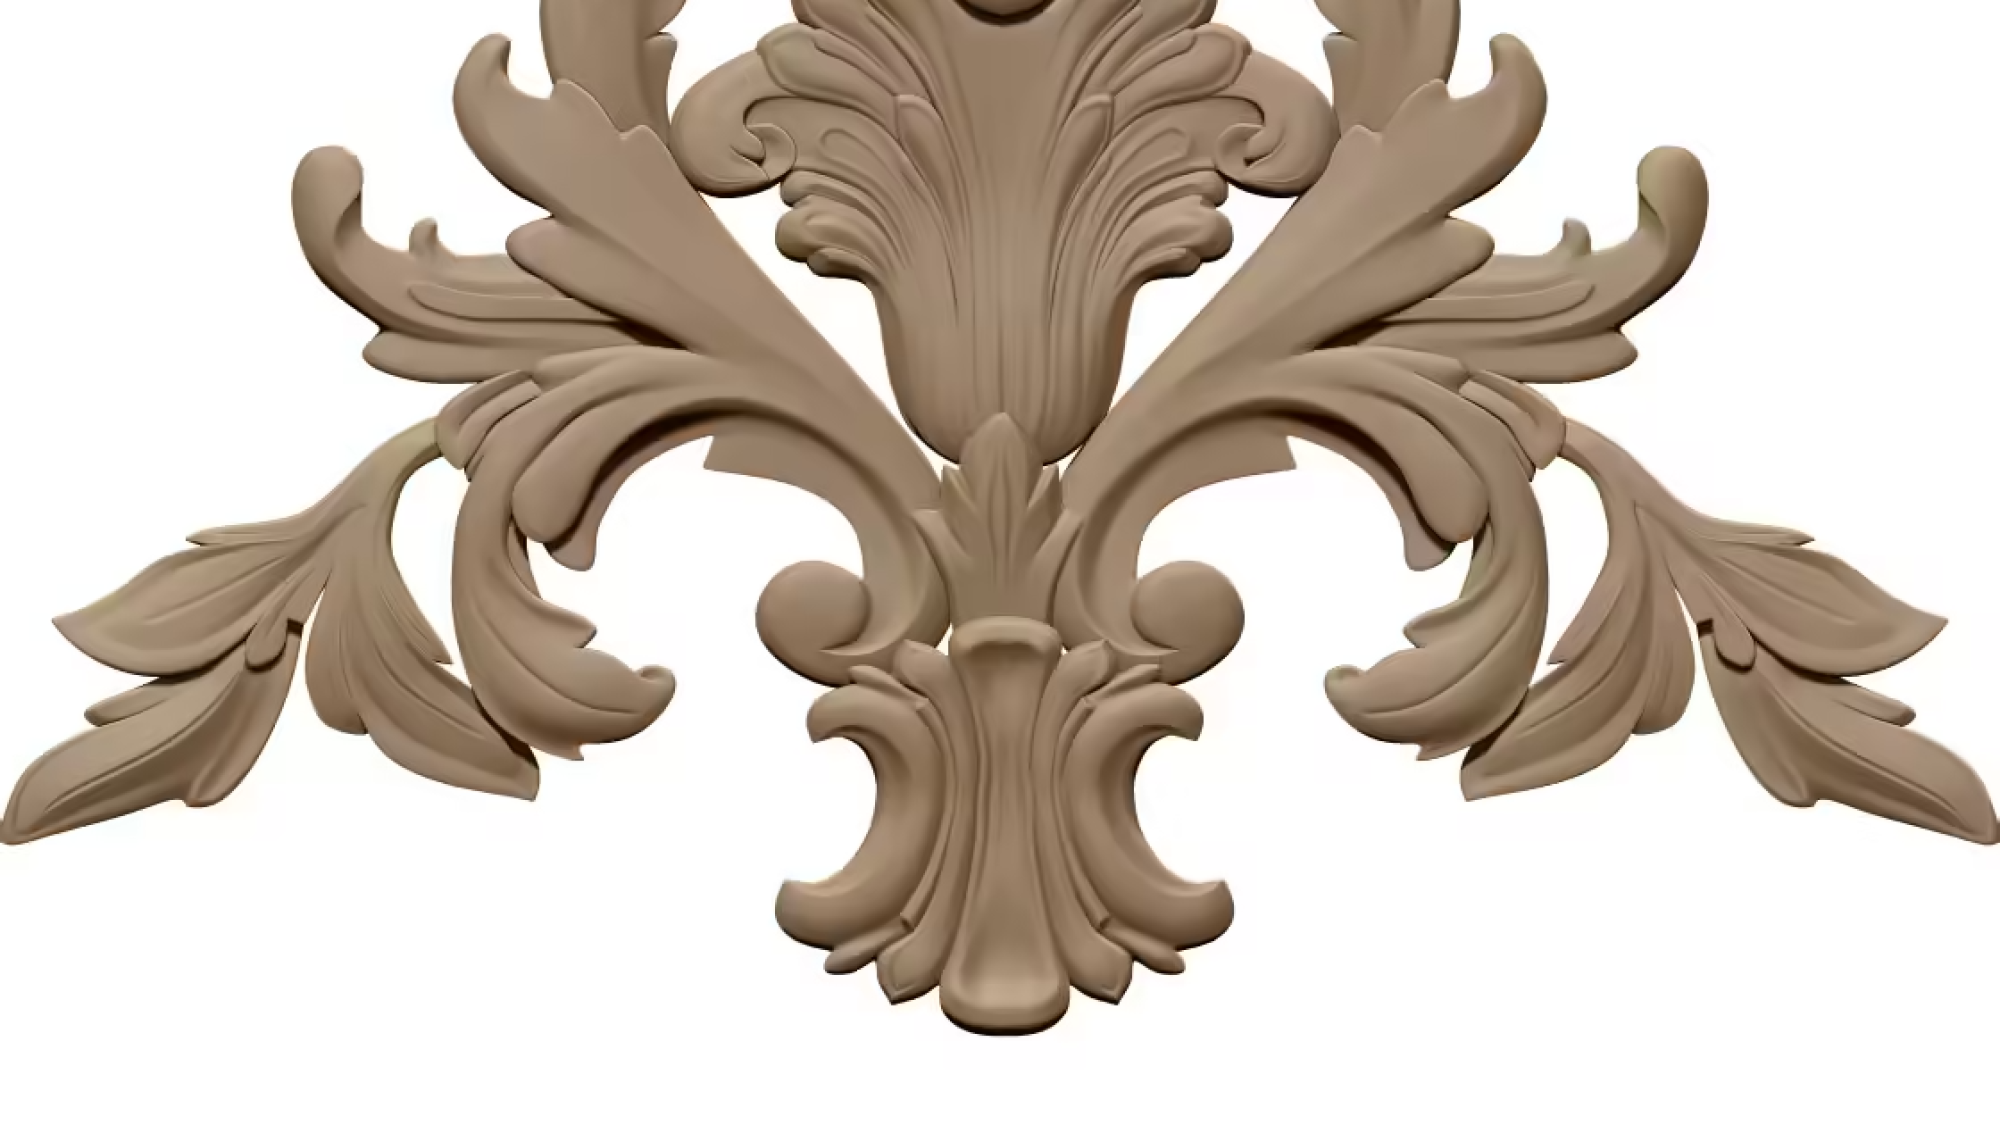
A002685

Ornament design for CNC carving STL file A002685

Understanding the Ornament Design

An ornamental carving can add depth and character to furniture, cabinetry, doors, and decorative panels. STL file A002685 provides a digital model intended for CNC carving, allowing a design to be translated into a toolpath and reproduced with consistent detail. Before machining, inspect the model in your design or CAM software. Check its dimensions, overall height, relief depth, and orientation, then confirm that the proportions suit the surface where the ornament will be installed.

Look closely at the raised and recessed areas. Fine curves and narrow details may appear elegant on screen but can be difficult to reproduce with an oversized cutter or on a small workpiece. Reviewing the model at its intended scale helps identify details that may need adjustment.

Preparing for CNC Carving

Successful results depend on careful preparation. Select a material that suits both the ornament’s purpose and the level of detail. Hardwood can provide a durable, polished finish, while softer woods and suitable sheet materials may be easier to machine. Ensure the blank is flat, securely held, and large enough to accommodate the design, including any margin needed for finishing.

In CAM software, choose a toolpath strategy appropriate to the model’s relief. A roughing pass can remove excess material efficiently; a finishing pass with a smaller cutter can capture curves and surface details. Set the cutter, feed rate, spindle speed, and step-over according to the machine, material, and tool manufacturer’s guidance. A test carve on scrap material is a practical way to check scale and settings before committing the final blank.

Finishing and Using the Carving

After machining, remove the ornament carefully and inspect the surface. Light sanding can soften tool marks, but avoid aggressive sanding that may erase fine features. Apply a finish suited to the material and intended setting, testing it first if color consistency is important. Paint, stain, or a clear protective coating can each emphasize the carved contours differently.

With thoughtful scaling, secure setup, and careful finishing, STL file A002685 can serve as a useful starting point for a distinctive decorative feature. The final appearance will depend on the chosen material, machining process, and finishing technique.


Thank You for Being Here

We’re so happy you stopped by! We hope you enjoy your experience and discover the perfect CNC design files for your projects. If you ever need assistance, don’t hesitate to reach out. We’re always glad to help.

Wishing you happy carving, smooth projects, and endless creativity! ✨😊
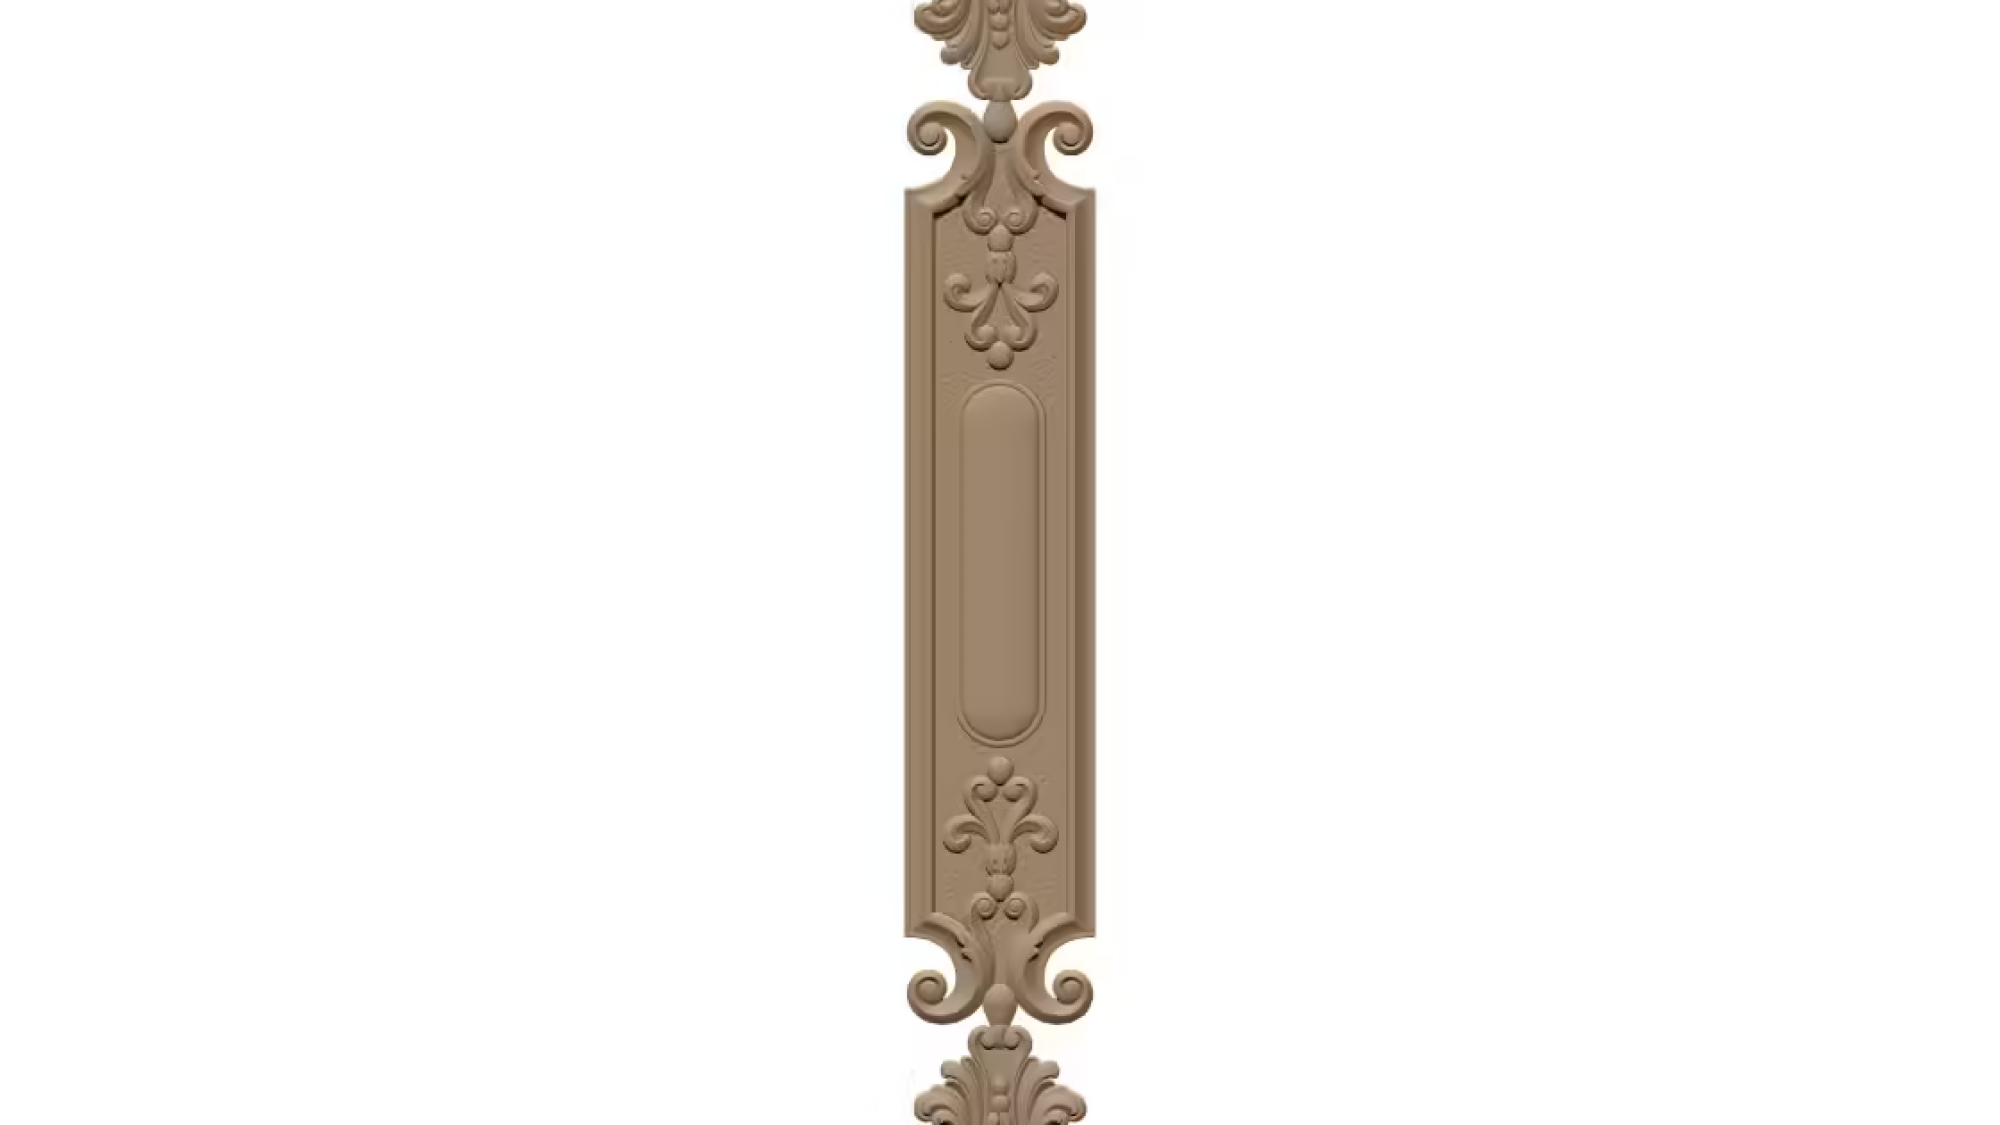
CNC Decorative Metal Gate Panel Design dxf file vector download link A002684

CNC Decorative Metal Gate Panel Design DXF file vector download link A002684

A decorative metal gate panel can combine visual character with the strength and precision of CNC fabrication. Design reference A002684 identifies a vector-based panel concept intended for production workflows that use compatible cutting equipment. Before fabrication, review the drawing carefully and confirm that its dimensions and details suit the intended gate.

What to Check in the Vector Design

A DXF file typically describes outlines and cut paths that can be interpreted by CAD/CAM software. Open the vector drawing in the software used by your fabricator and inspect its scale, units, closed contours, and linework. Look for duplicate paths, stray points, or very small features that may be difficult to cut cleanly. If the design needs resizing, preserve the proportions unless the pattern is specifically being adapted.

Matching the Pattern to the Material

The choice of metal affects both appearance and performance. Steel is often selected for its strength, while aluminum may be useful where lower weight or corrosion resistance is a priority. Material thickness, panel dimensions, and the size of the decorative openings should be considered together. Fine details and narrow bridges can weaken a panel or complicate cutting, so ask the fabricator to assess them before production.

Preparing for CNC Cutting

Before sending the A002684 vector design for cutting, confirm the machine’s supported file format and the shop’s preferred drawing conventions. A DXF may require cleanup or conversion depending on the equipment and software. Request a proof or test cut when practical, especially if the panel must fit an existing frame. Verify clearances, mounting points, and edge conditions against measured site dimensions.

From Panel to Finished Gate

After cutting, finishing steps such as deburring, welding, coating, or painting can influence the final result. Protect exposed metal appropriately for its environment, and ensure that the panel is installed securely within a suitable gate structure. Careful checks at the design and fabrication stages help turn a decorative vector pattern into a durable, well-fitted metal feature.


Thank You for Being Here

We’re so happy you stopped by! We hope you enjoy your experience and discover the perfect CNC design files for your projects. If you ever need assistance, don’t hesitate to reach out. We’re always glad to help.

Wishing you happy carving, smooth projects, and endless creativity! ✨😊

A002683

Goddess Durga (Sherawali) seated on a tiger/lion mount STL Model, CNC Router Wood Carving A002683

A Revered Image of Strength and Protection

Goddess Durga, often affectionately called Sherawali, is widely recognized by her powerful mount: a lion or tiger. The image brings together grace and courage, expressing the goddess’s role as a protector and a force for overcoming adversity. A sculptural model of Durga seated upon her mount captures this meaningful relationship in a form suited to detailed wood carving.

For artisans and devotees, the composition offers more than decorative appeal. Durga’s poised presence, carefully arranged garments, and symbolic attributes can convey dignity and resolve, while the animal beneath her adds movement and strength. Together, these elements create a striking focal point for a shrine, cultural display, or devotional art collection.

Preparing the Design for CNC Wood Carving

A three-dimensional STL model can help guide the process of producing a carved relief or sculpture with a CNC router. Before cutting, the design should be reviewed for scale, depth, and the level of detail the chosen wood can support. Fine features—such as facial expression, jewelry, and folds of fabric—may require careful tool selection and a suitable finishing pass to remain clear in the finished piece.

Material choice also matters. Woods with consistent grain can make intricate details easier to machine, while a stable, properly prepared blank helps reduce movement during carving. Testing the toolpath on a small sample is a practical way to check the appearance and depth before working on the final material.

Finishing and Displaying the Carving

After machining, light sanding and careful hand-finishing can soften tool marks without obscuring fine details. Depending on the desired appearance, the carving may be left natural, stained to emphasize the grain, or finished with a protective coating appropriate for its setting. Allow finishes to cure fully before placing the piece on display.

Whether made for worship, artistic study, or a meaningful gift, a Durga-and-lion carving combines technical craft with enduring symbolism. Thoughtful preparation and respectful presentation help preserve both the visual detail of the model and the significance of the image.


Thank You for Being Here

We’re so happy you stopped by! We hope you enjoy your experience and discover the perfect CNC design files for your projects. If you ever need assistance, don’t hesitate to reach out. We’re always glad to help.

Wishing you happy carving, smooth projects, and endless creativity! ✨😊

A002682

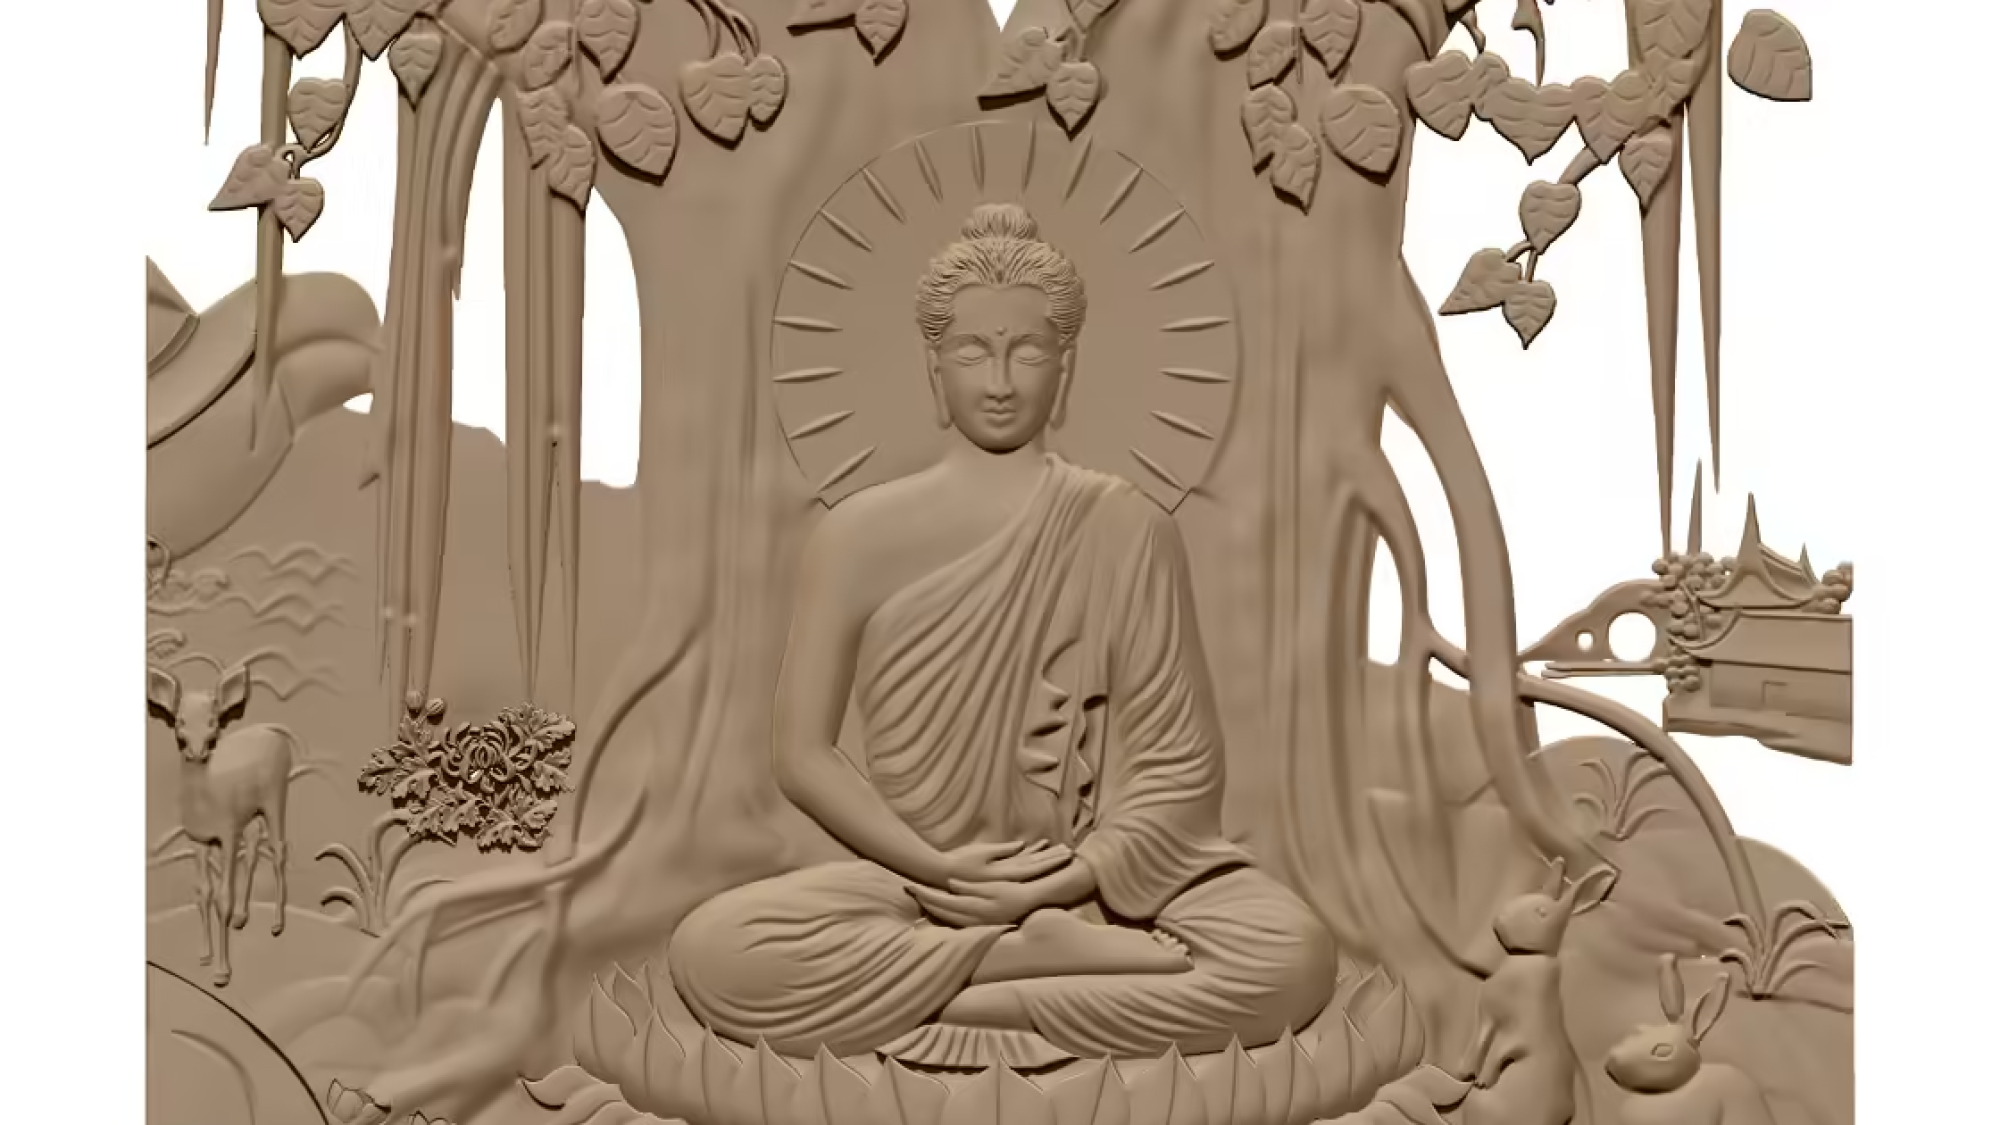
Buddha seated in a lotus posture (Padmasana) with hands resting in meditation mudra STL Model, CNC Router Wood Carving A002682

A seated Buddha in lotus posture offers a timeless subject for decorative wood carving. With legs crossed and hands resting in meditation mudra, the figure conveys composure, attention, and inner balance. A carefully prepared STL model can translate these details into a design suitable for CNC router carving, while preserving the character of the original pose.

The Meaning of the Pose

Padmasana, commonly known as the lotus posture, is associated with stability and contemplative practice. The upright body and balanced arrangement of the legs create a calm, symmetrical silhouette. In meditation mudra, the hands rest together in the lap, forming a quiet focal point that reinforces the figure’s peaceful expression. Together, these elements make the design recognizable and visually harmonious.

Preparing the Model for Carving

Before machining, review the STL model at the intended finished size. Check that facial features, fingers, robe folds, and the seated base are clearly defined and connected appropriately. Fine details may need adjustment to suit the wood species, cutter diameter, and carving depth. A smaller tool can capture delicate contours, while a larger bit is useful for removing material efficiently from broader areas.

Choosing Wood and Finishing

Wood selection affects both the appearance and the level of detail the carving can retain. Fine-grained hardwoods often support crisp features, while softer woods may be easier to machine but more prone to fuzzy edges. Secure the blank firmly, use suitable feeds and speeds, and test the toolpath on a spare piece when possible. After carving, sand carefully without erasing small details. A clear oil or wax finish can enhance the natural grain; a stain may provide additional contrast.

A Thoughtful Decorative Piece

Whether displayed in a quiet room or offered as a handmade gift, a carved Buddha figure can serve as a reminder of mindfulness. Respectful workmanship, accurate modeling, and patient finishing help give this traditional image clarity and lasting presence.


Thank You for Being Here

We’re so happy you stopped by! We hope you enjoy your experience and discover the perfect CNC design files for your projects. If you ever need assistance, don’t hesitate to reach out. We’re always glad to help.

Wishing you happy carving, smooth projects, and endless creativity! ✨😊
A002681

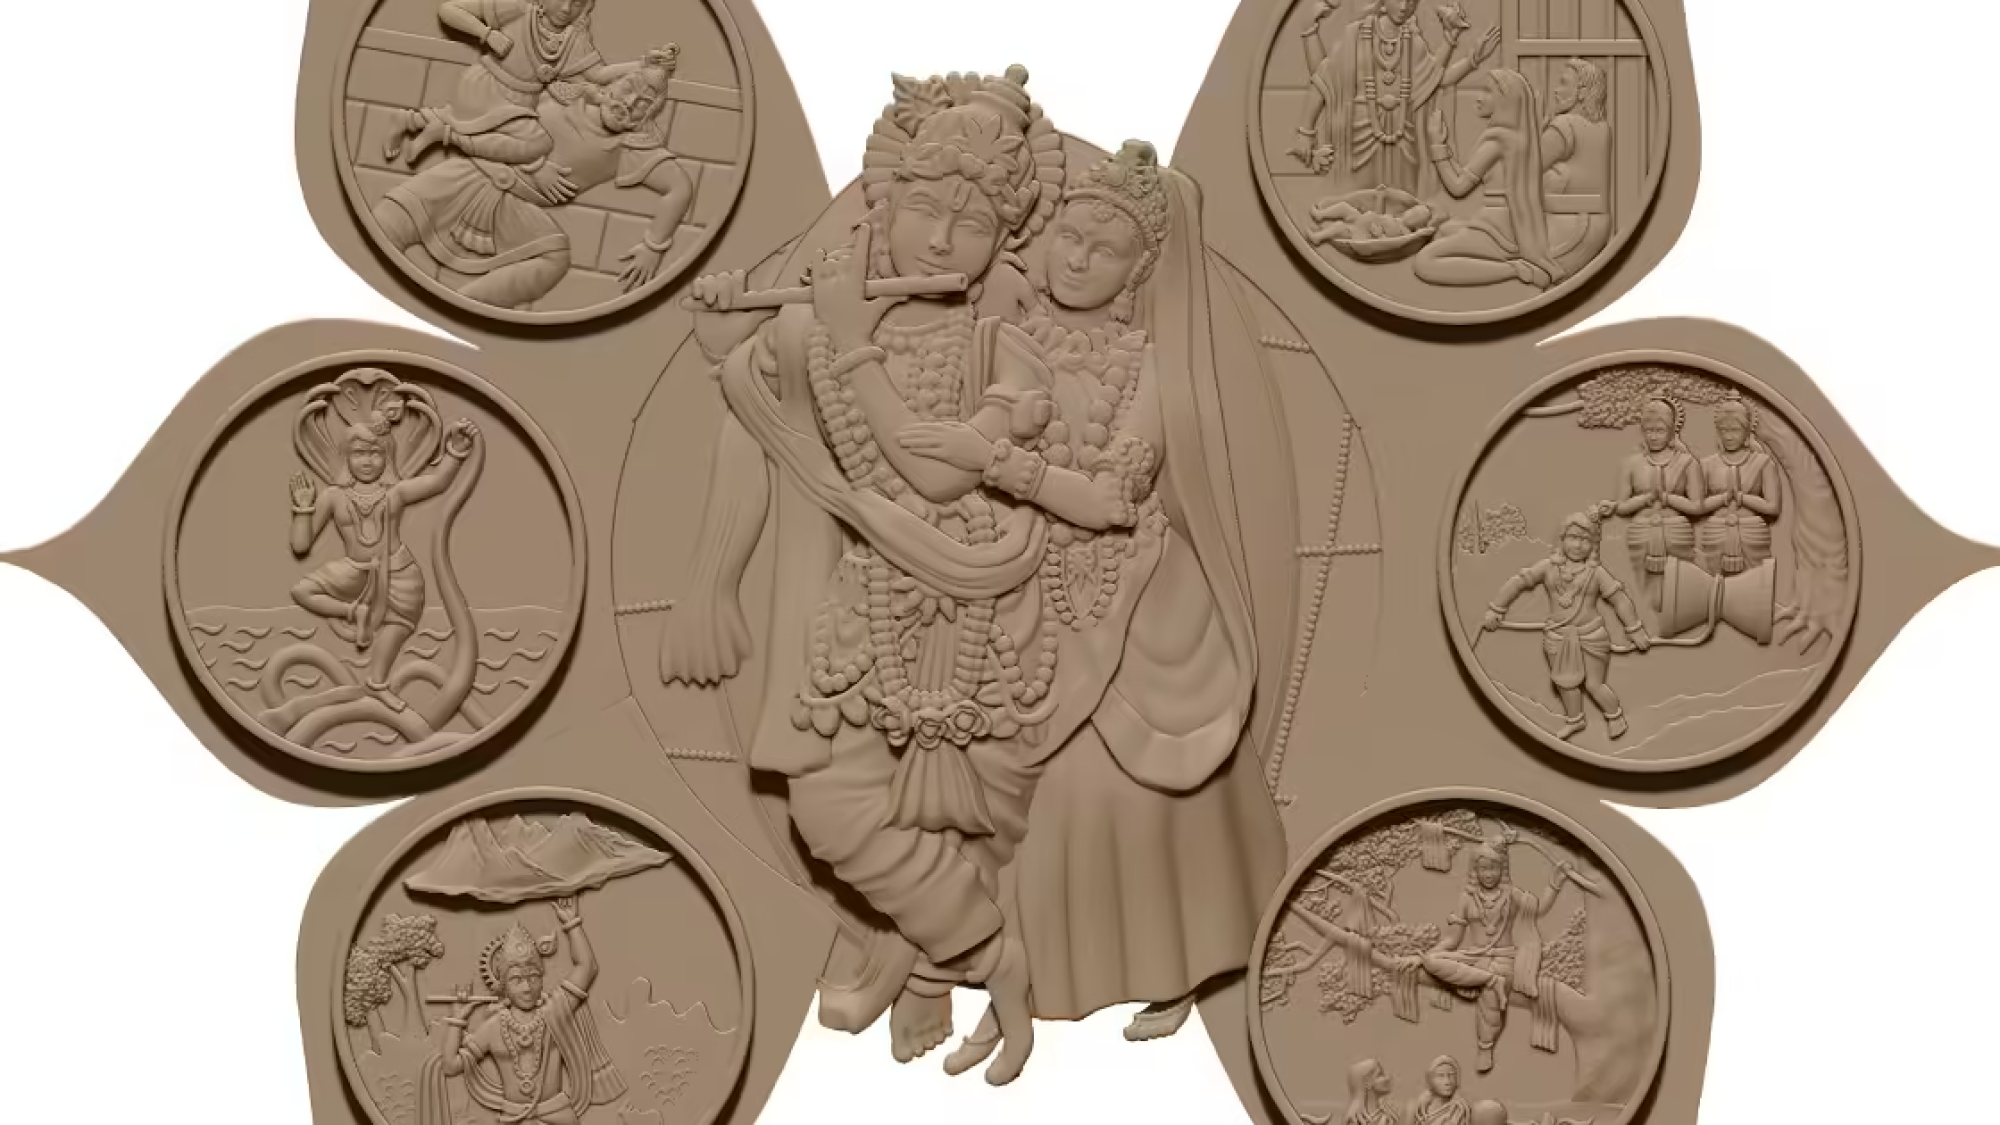
Lord Krishna playing the flute alongside Radha3D STL Model, CNC Router Wood Carving A002681

A Scene of Devotion and Music

The image of Lord Krishna playing the flute beside Radha brings together music, affection, and spiritual devotion. In a carved wooden artwork, this familiar scene gains a tactile quality: flowing garments, graceful poses, and the flute’s delicate line become part of the wood’s natural character. A carefully prepared three-dimensional model can help translate the composition into a form suitable for CNC router carving, while preserving the balance and detail that give the figures their expressive presence.

From Digital Model to Wooden Relief

An STL model represents the scene as a three-dimensional surface that carving software can interpret as toolpaths. Before machining, the operator should review the model’s scale, orientation, surface quality, and level of detail. Fine features such as facial expressions, jewelry, fingers, and the flute may require a suitable bit, conservative cutting settings, and enough material depth to remain clear after carving. A test cut in inexpensive stock can reveal whether important details are readable at the intended size.

Wood selection also influences the finished result. Close-grained species can support crisp detail, while more pronounced grain may add visual warmth but compete with small features. Secure workholding, appropriate tool selection, and staged roughing and finishing passes help produce a cleaner surface. The safest and most reliable settings depend on the router, cutter, material, and project dimensions.

Finishing with Care

After machining, light sanding can soften tool marks without erasing delicate contours. Apply stains, oils, or clear finishes only after removing dust and testing the product on a sample. Some makers prefer a natural finish that emphasizes the wood; others use color selectively to distinguish the figures and decorative elements. In either approach, restraint can preserve the calm character of the composition.

A Meaningful Decorative Piece

A Radha and Krishna carving can serve as a devotional focal point, a thoughtful handmade gift, or an example of how digital fabrication supports traditional imagery. The strongest result combines technical preparation with respect for the subject, allowing the material, craftsmanship, and symbolism to work together.


Thank You for Being Here

We’re so happy you stopped by! We hope you enjoy your experience and discover the perfect CNC design files for your projects. If you ever need assistance, don’t hesitate to reach out. We’re always glad to help.

Wishing you happy carving, smooth projects, and endless creativity! ✨😊
A002680

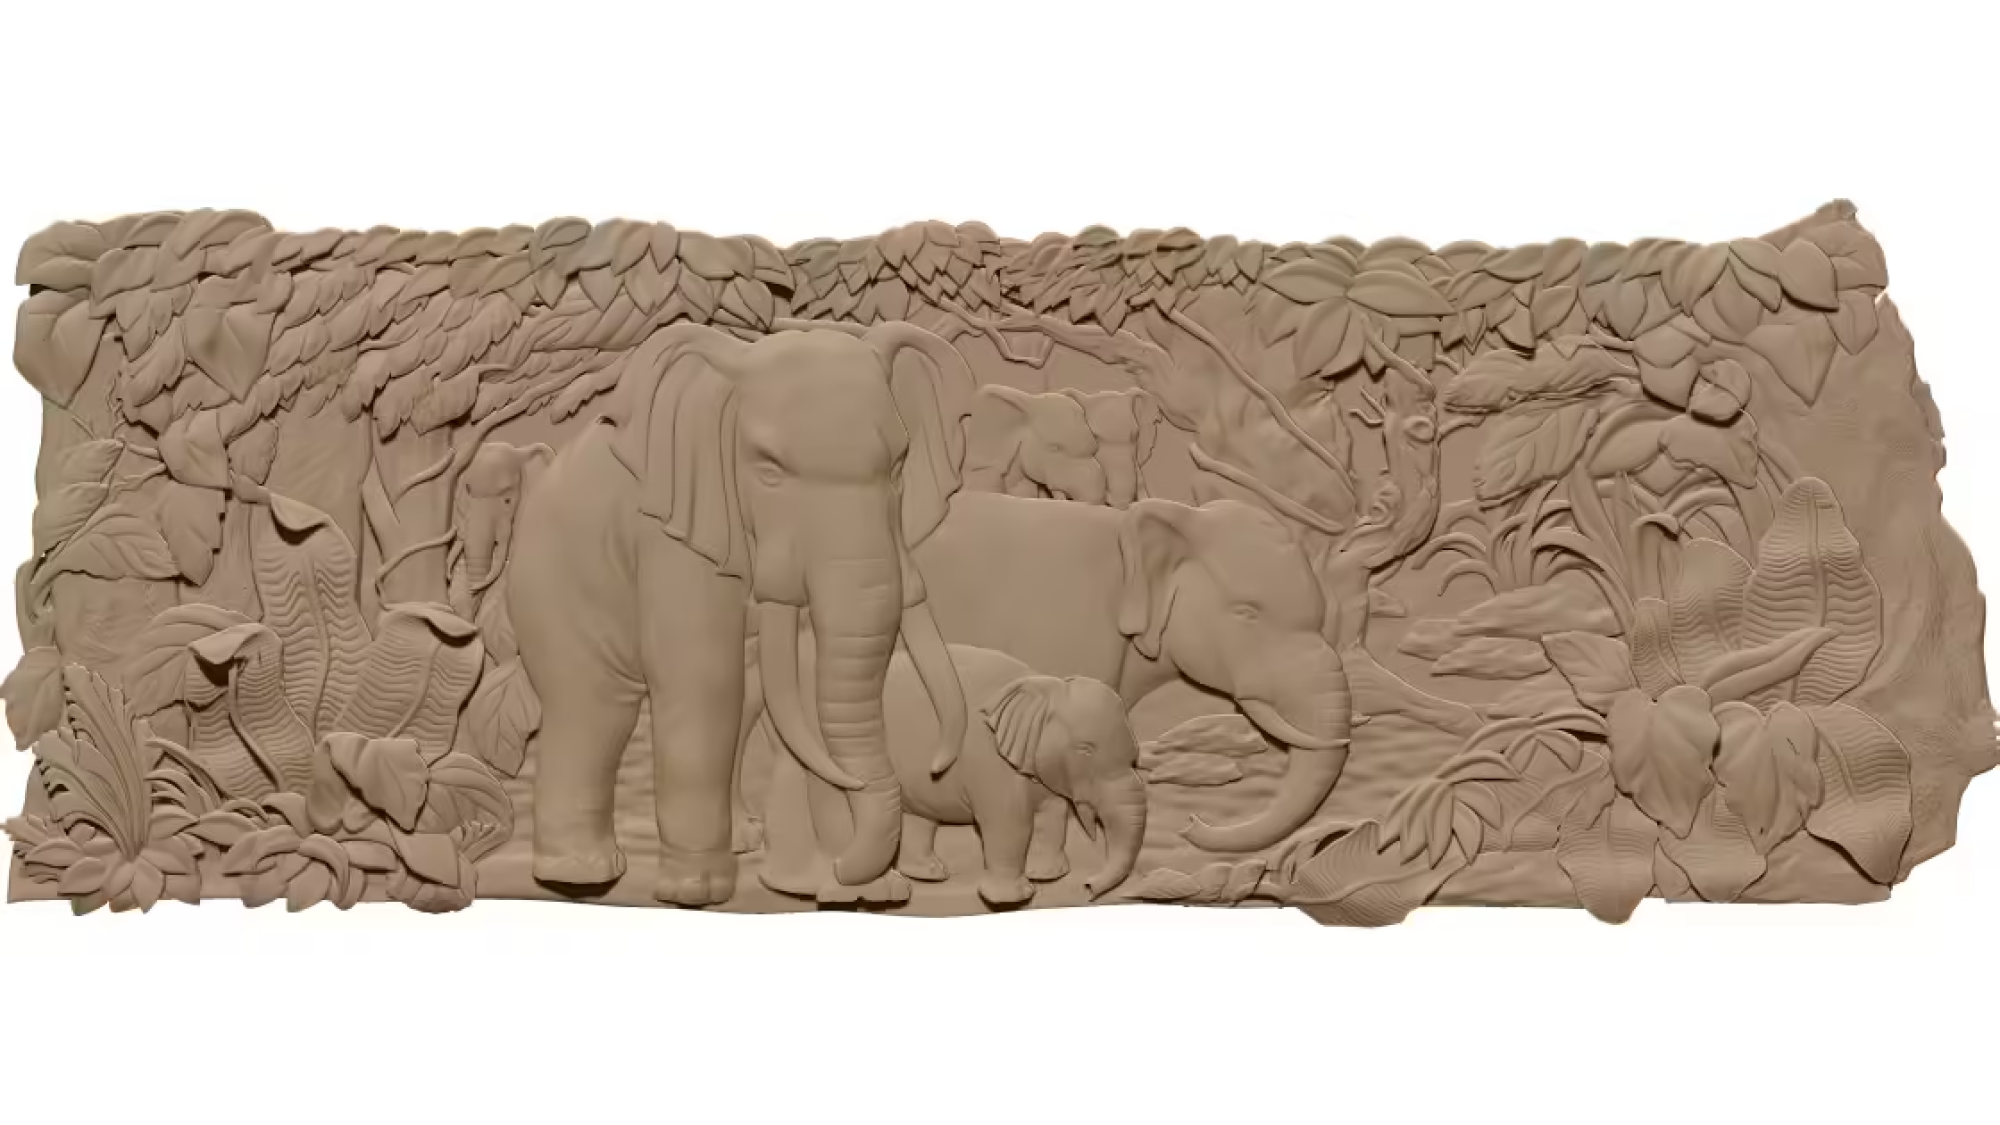
Elephant Family 3D STL Model, CNC Router Wood Carving A002680

Bringing an Elephant Family to Life in Wood

An elephant family 3D STL model offers an appealing subject for decorative wood carving, combining natural beauty with strong visual symbolism. The image of adult elephants beside their young conveys protection, unity, and family connection. When prepared for a CNC router, this design can become a refined wall panel, cabinet decoration, sign, or freestanding artistic piece.

STL files are widely used for three-dimensional carving projects because they define the model’s surface geometry with precision. A carefully designed elephant scene can include recognizable ears, trunks, legs, and textured bodies while maintaining a composition suitable for machining. The level of detail should be selected according to the wood species, cutter diameter, and final dimensions of the project.

Preparing the Model for CNC Machining

Before beginning the carving process, review the model in compatible CNC software and confirm its scale, orientation, and depth. Creating a smooth relief requires attention to the material thickness and the available cutting area. A roughing pass with a larger end mill can remove excess wood efficiently, while a smaller ball-nose bit can refine contours and surface details.

Toolpath planning is especially important around the elephants’ trunks, ears, and spaces between their bodies. Adequate clearance reduces the risk of broken tools and helps preserve delicate features. Simulating the toolpaths before cutting can also reveal collisions, excessive depth, or areas that require additional support.

Selecting Wood and Finishing the Carving

Softwoods such as pine are accessible choices for practice, while hardwoods including walnut, maple, and oak can produce a more durable and elegant result. The selected board should be flat, stable, and securely fastened to the CNC router bed.

After machining, remove dust and carefully sand raised surfaces without erasing important details. A clear finish can emphasize the relief, while stain or contrasting paint may highlight the elephants and background. With accurate preparation and patient finishing, an elephant family carving becomes a distinctive piece of functional or decorative woodworking.


Thank You for Being Here

We’re so happy you stopped by! We hope you enjoy your experience and discover the perfect CNC design files for your projects. If you ever need assistance, don’t hesitate to reach out. We’re always glad to help.

Wishing you happy carving, smooth projects, and endless creativity! ✨😊